Selecting the Material
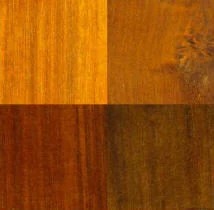
In modern bow making, pernambuco (Paubrasilia echinata) is the predominant wood for high-quality bow sticks. Its heartwood ranges in color from light orange through warm browns to deep reddish brown. Morphotypes such as arruda, café, and laranja, along with different growing conditions, influence color, density, and fiber quality—and thus properties that later affect response, bouncing behavior, and tone.
Pernambuco’s distinctive position rests on a rare combination of density, modulus of elasticity, internal damping, fracture toughness, and speed of recovery. Added to these are dimensional stability, repairability, and more than two centuries of refinement in the relationship between material, bow construction, and playing technique. Its status as a material standard in high-quality bow making is therefore based on experience rather than chance.
Alternative Materials
Other woods can be useful for particular applications, but they do not offer the same combination of all the essential properties. Snakewood (Brosimum guianense) is very dense and stiff, but its weight requires slender cross sections, and it can be brittle around the head and neck. It is particularly suited to historical bows and heavy viola or bass bows.
Massaranduba (Manilkara bidentata) and ipê (Handroanthus spp.) can be suitable for robust orchestral and student bows. Their cross sections and weights need to be adapted to their density and grain direction. Manilkara kauki and Caesalpinia platyloba offer good surface qualities but only partly achieve the combination of elasticity, dynamic response, and weight required at the highest level.
Carbon-fiber and other composite bows are dimensionally stable, insensitive to humidity, and consistent in production. They have proved their value for students and semiprofessional players. At the highest level, however, the subtle dynamic feedback of fine pernambuco bows remains a defining benchmark.
A fair assessment of substitute materials must consider density, elasticity, straight grain, long-term retention of camber, workability, repairability, and documented origin together. Alternative materials are therefore useful additions for particular applications; at the highest level of artistic performance, they do not currently replace carefully selected pernambuco.
Preparing the Wood
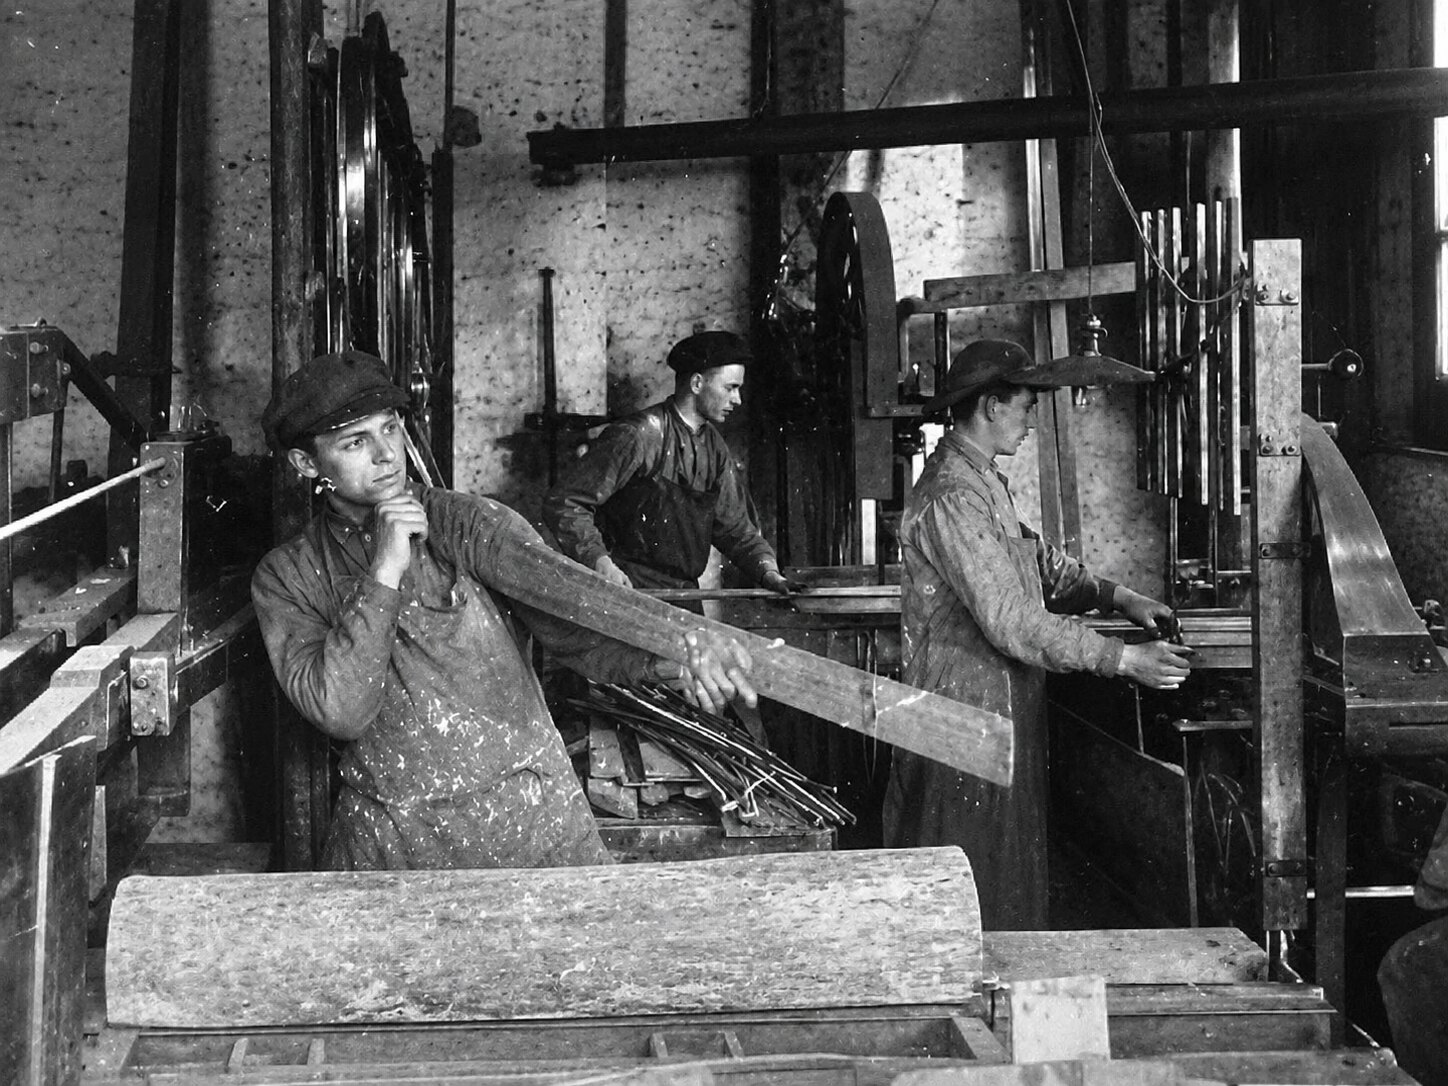
Pernambuco is generally seasoned for six to ten years between felling and use. The wood is first stored for several years in a relatively humid environment before being sawn. The boards then dry for several more years under normal indoor conditions with good air circulation. This slow seasoning reduces moisture and internal stresses while keeping the fiber structure stable.
Freshly cut wood would be unsuitable for bow making: after bending, it could spring back, move unpredictably, or crack. Only after several years of seasoning does the material achieve the dimensional stability needed for precise work.
From Log to Bow Blank
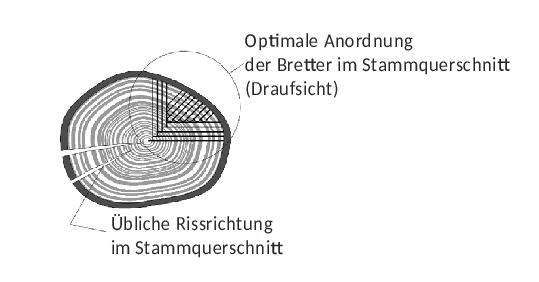
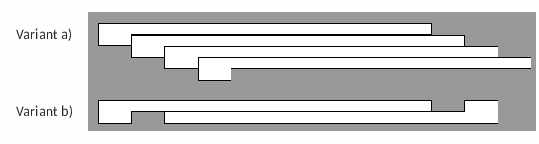
Careful attention is paid to grain direction when sawing. Boards are cut from the quarters of the log with as nearly radial an orientation as possible. These are then cut into blanks with a typical cross section of about 13 × 13 mm. Knots, irregular growth, and other defects must be avoided. The blanks are then graded and stored for another one to two years.
Today, traditional workshop assessment is supplemented by measurement. ArcoMeter and ArcoWin can measure properties including elasticity and density, helping match individual blanks to the intended bow models. This allows valuable material to be used more efficiently.
The First Steps
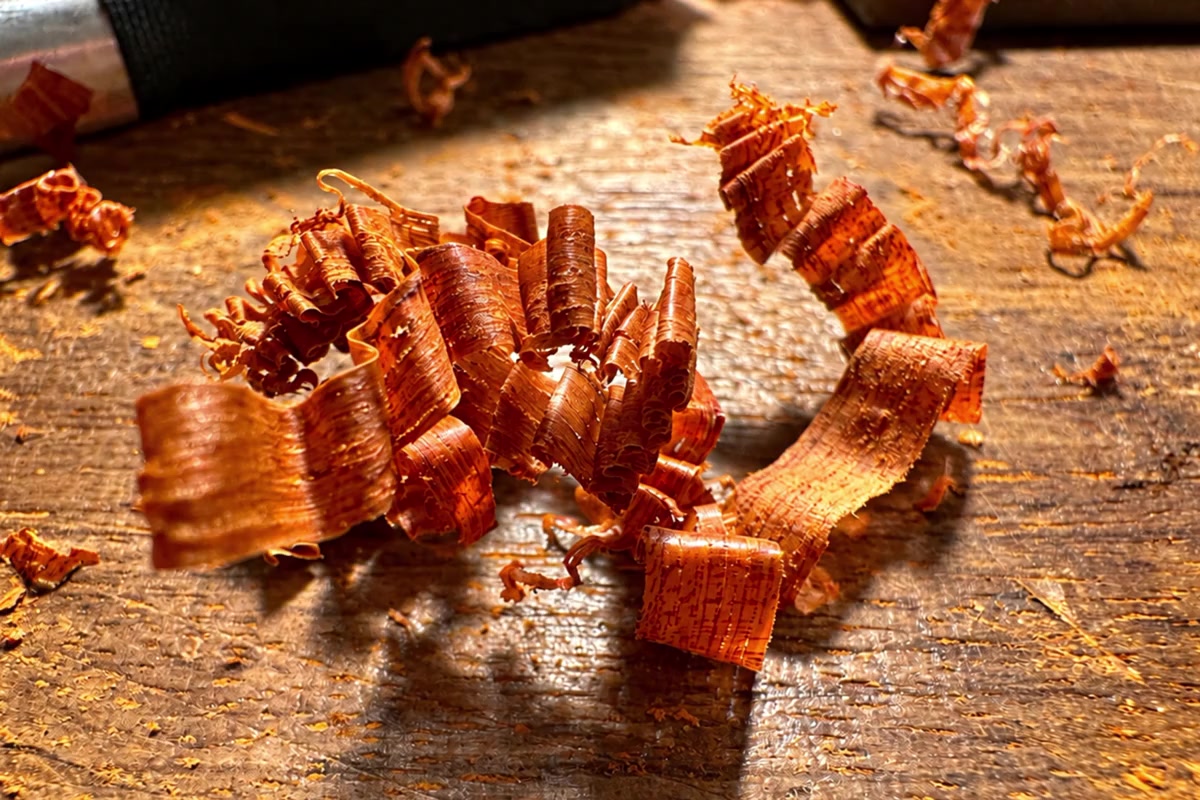
Once a suitable blank has been selected, work begins with rough planing. The stick receives its initial taper. Working from the head, the side faces are shaped first, followed by the top and bottom. Immediately behind the head, a carving knife and coarse file are used because the head’s shape prevents the plane from reaching this area.
The sharp edges are then chamfered, creating narrow faces at approximately 45 degrees between the four main faces. At this stage, the stick is deliberately left larger than the calculated final dimensions at every measuring point.

Camber, Alignment, and Stiffness
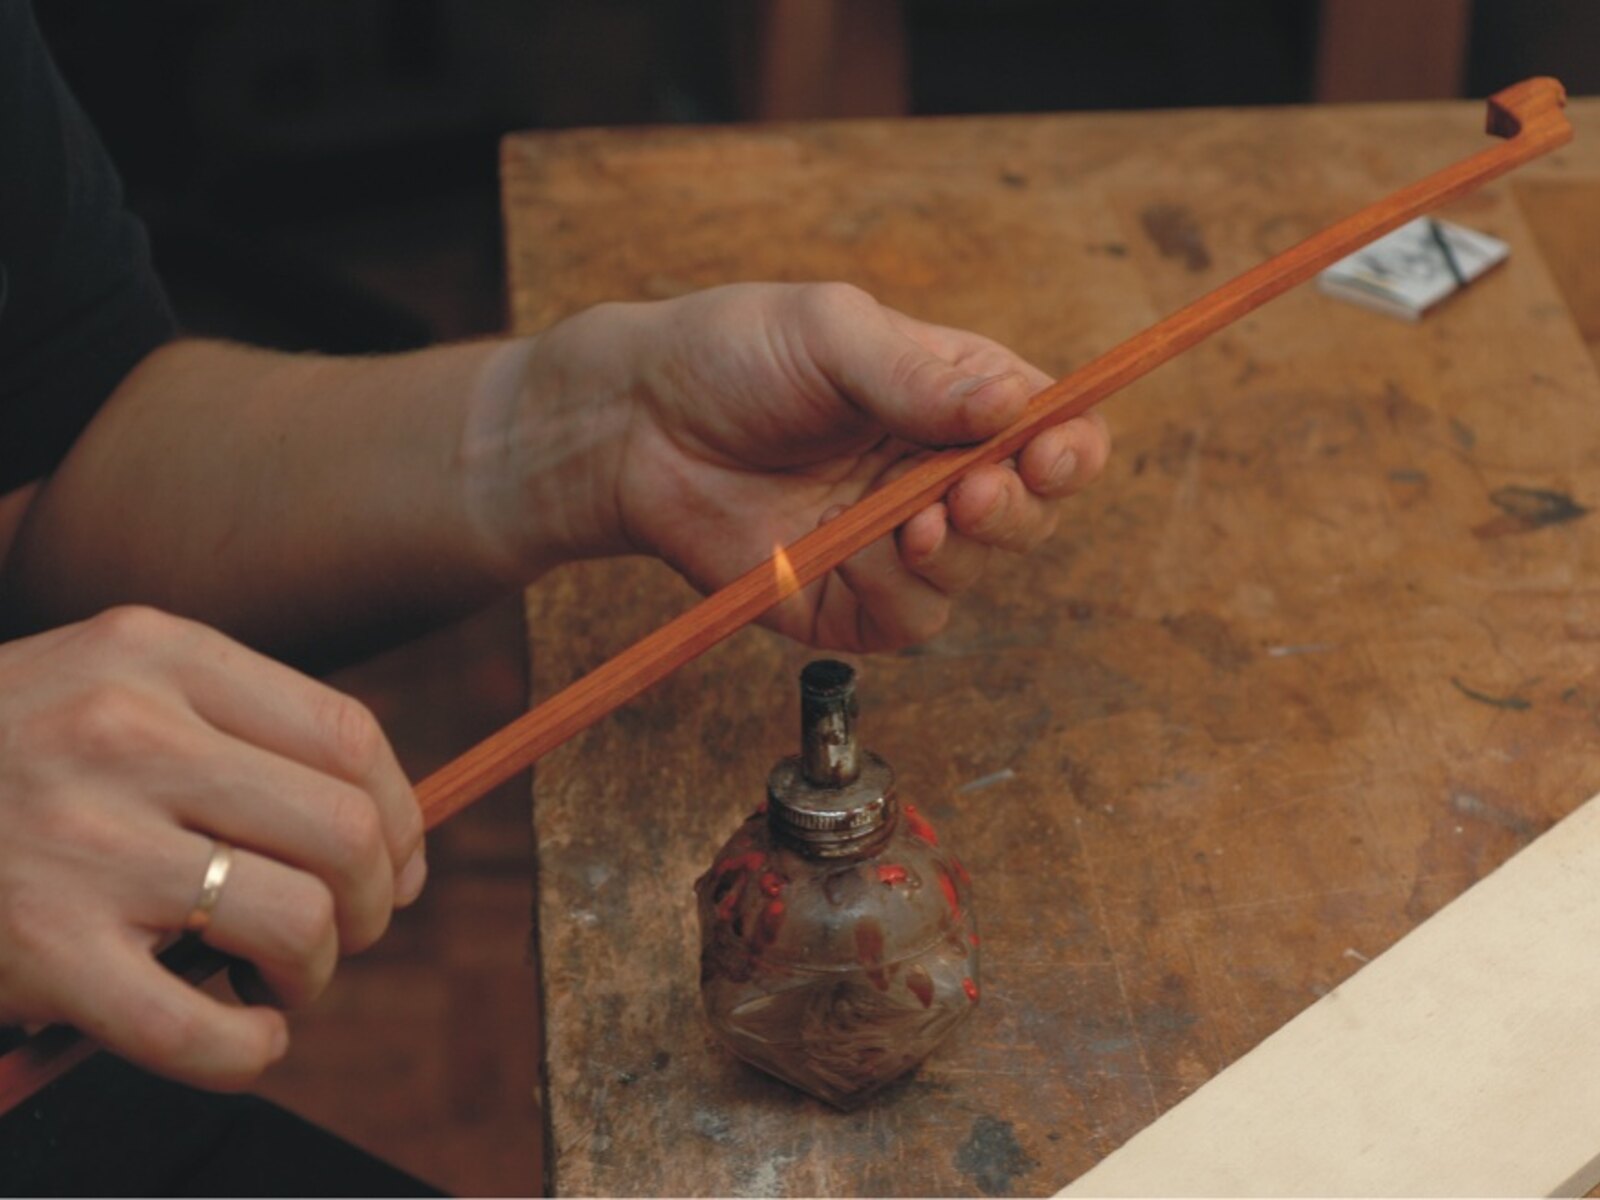
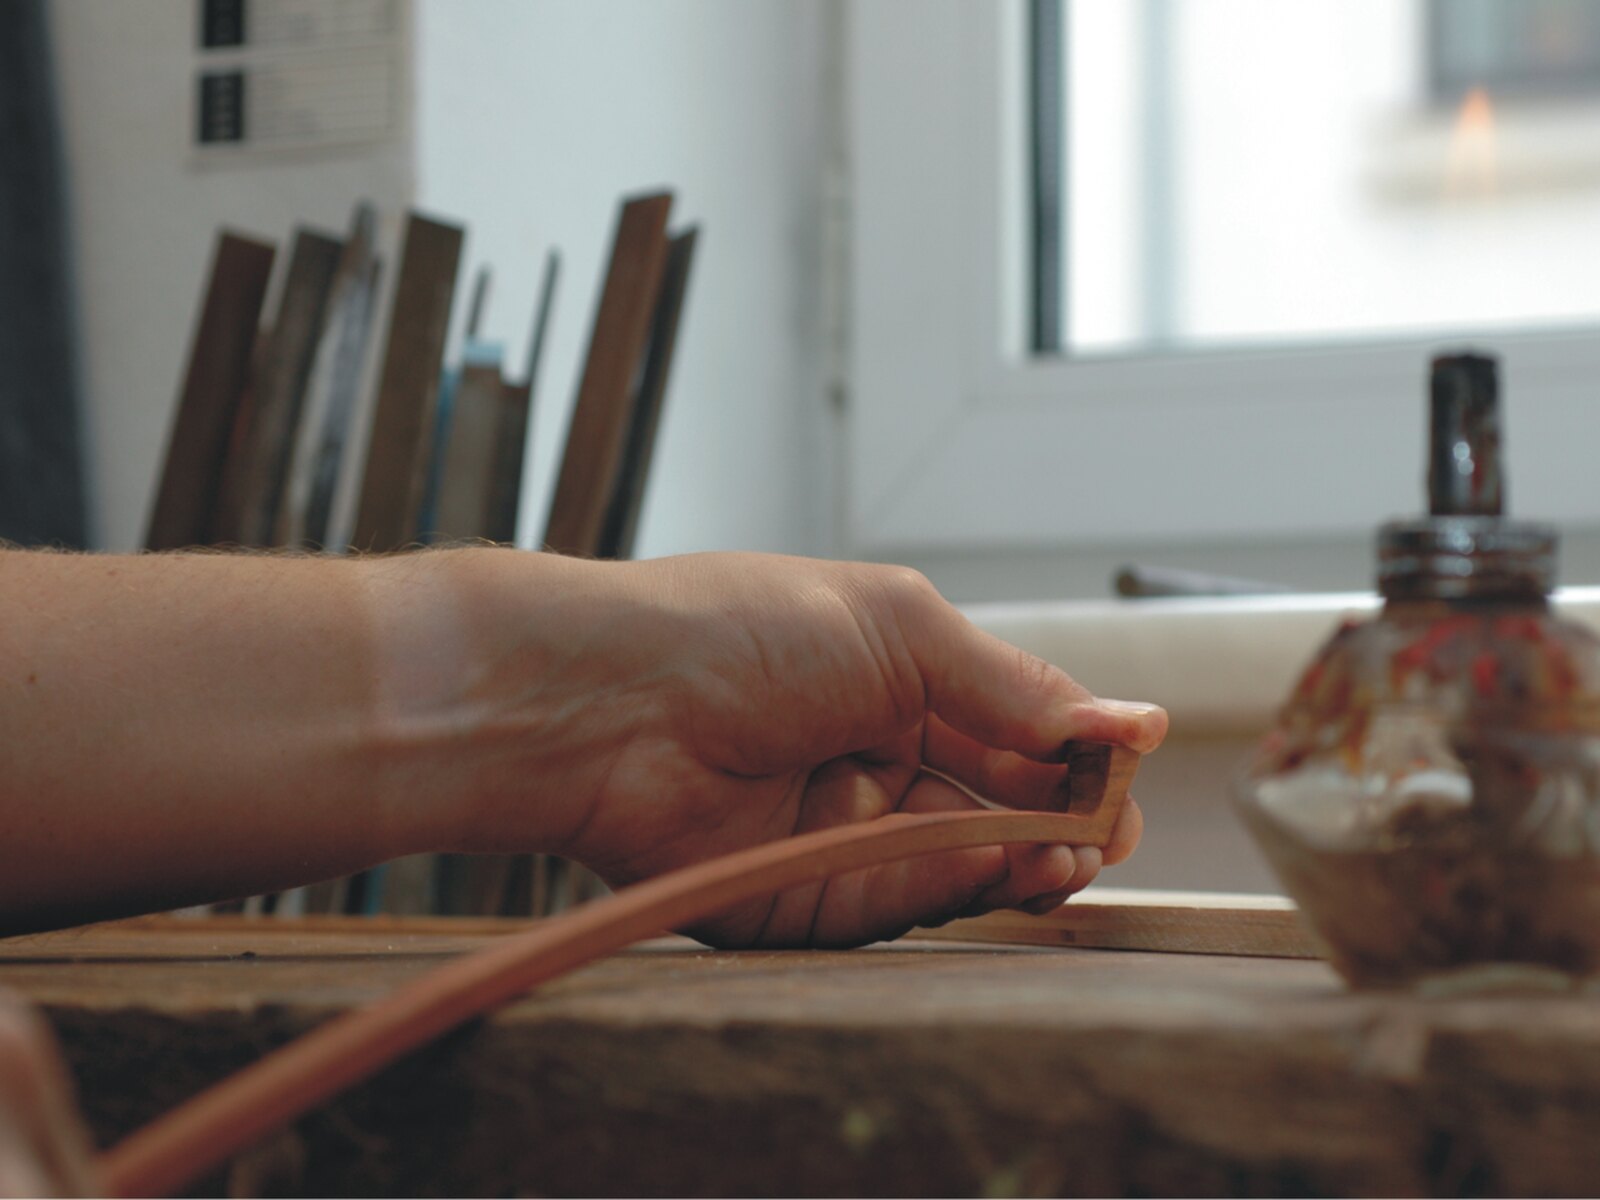
Bending is one of the fundamental stages of bow making. The stick is heated in sections and shaped under controlled pressure. The temperature must be right: excessive heat damages the wood’s structure, while insufficient heat can cause breakage and prevent the camber from remaining stable. One of pernambuco’s outstanding properties is its ability to retain a properly formed camber for decades.
Lateral alignment is just as important as curvature. Viewed from the end toward the head, the stick should be straight. Camber depth and stiffness jointly affect hair tension, response, bouncing behavior, and tone. A deeply cambered, resistant stick behaves differently from a shallower, more flexible one. Bow makers therefore aim for a balanced relationship between properties rather than a single abstract ideal value.
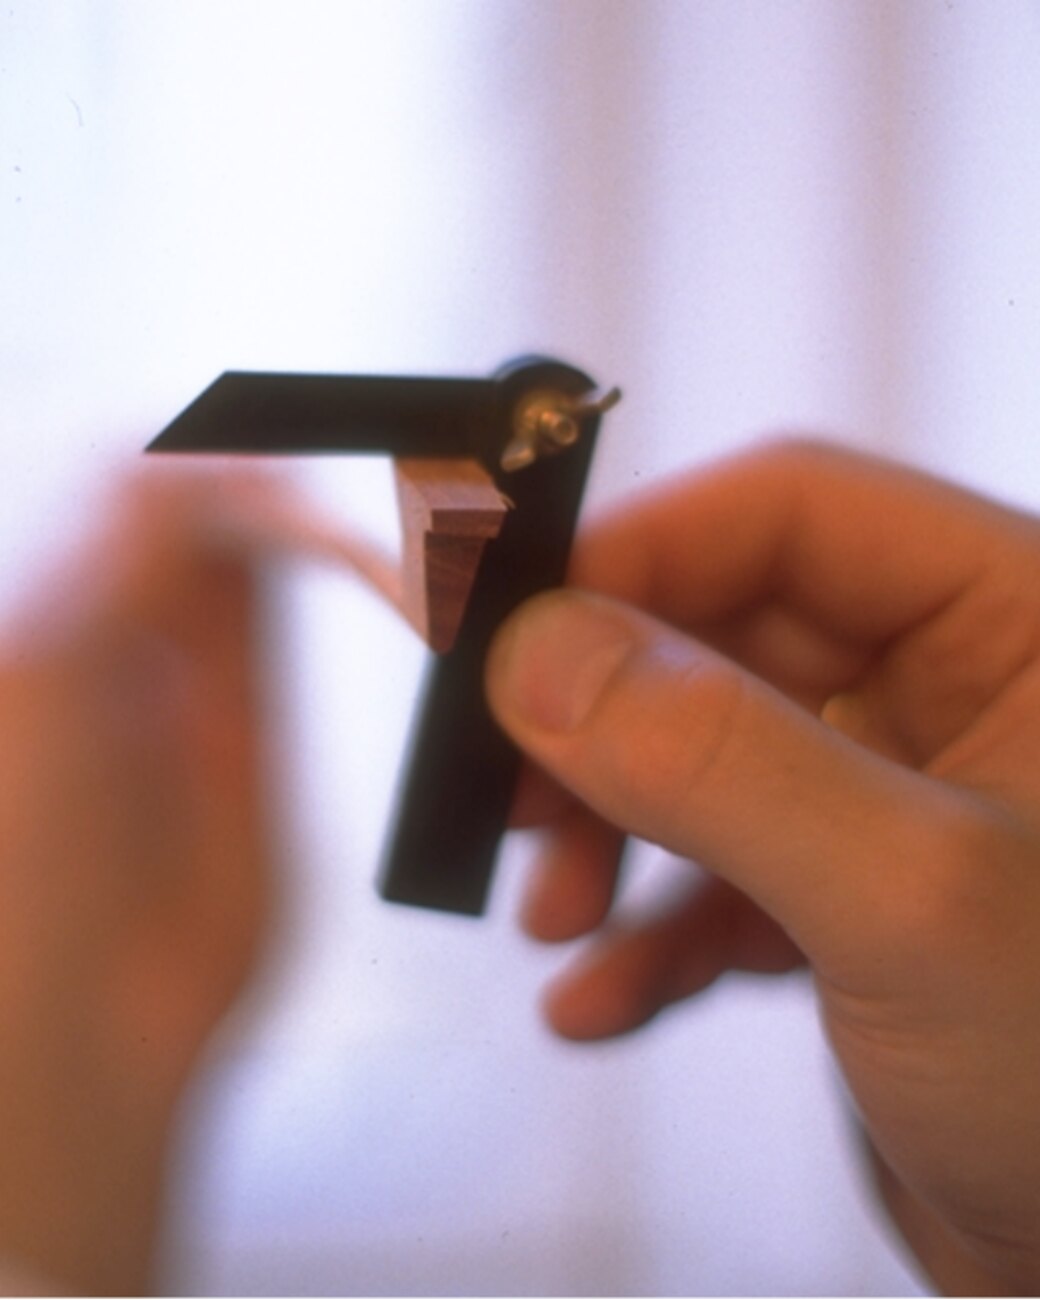
The first bending is followed by further planing, with the aim of achieving an even octagonal cross section along the entire length. The French school traditionally uses a small brass plane; the German tradition uses a larger plane on a special board. The two approaches use different working movements to achieve a precise graduation of the stick.
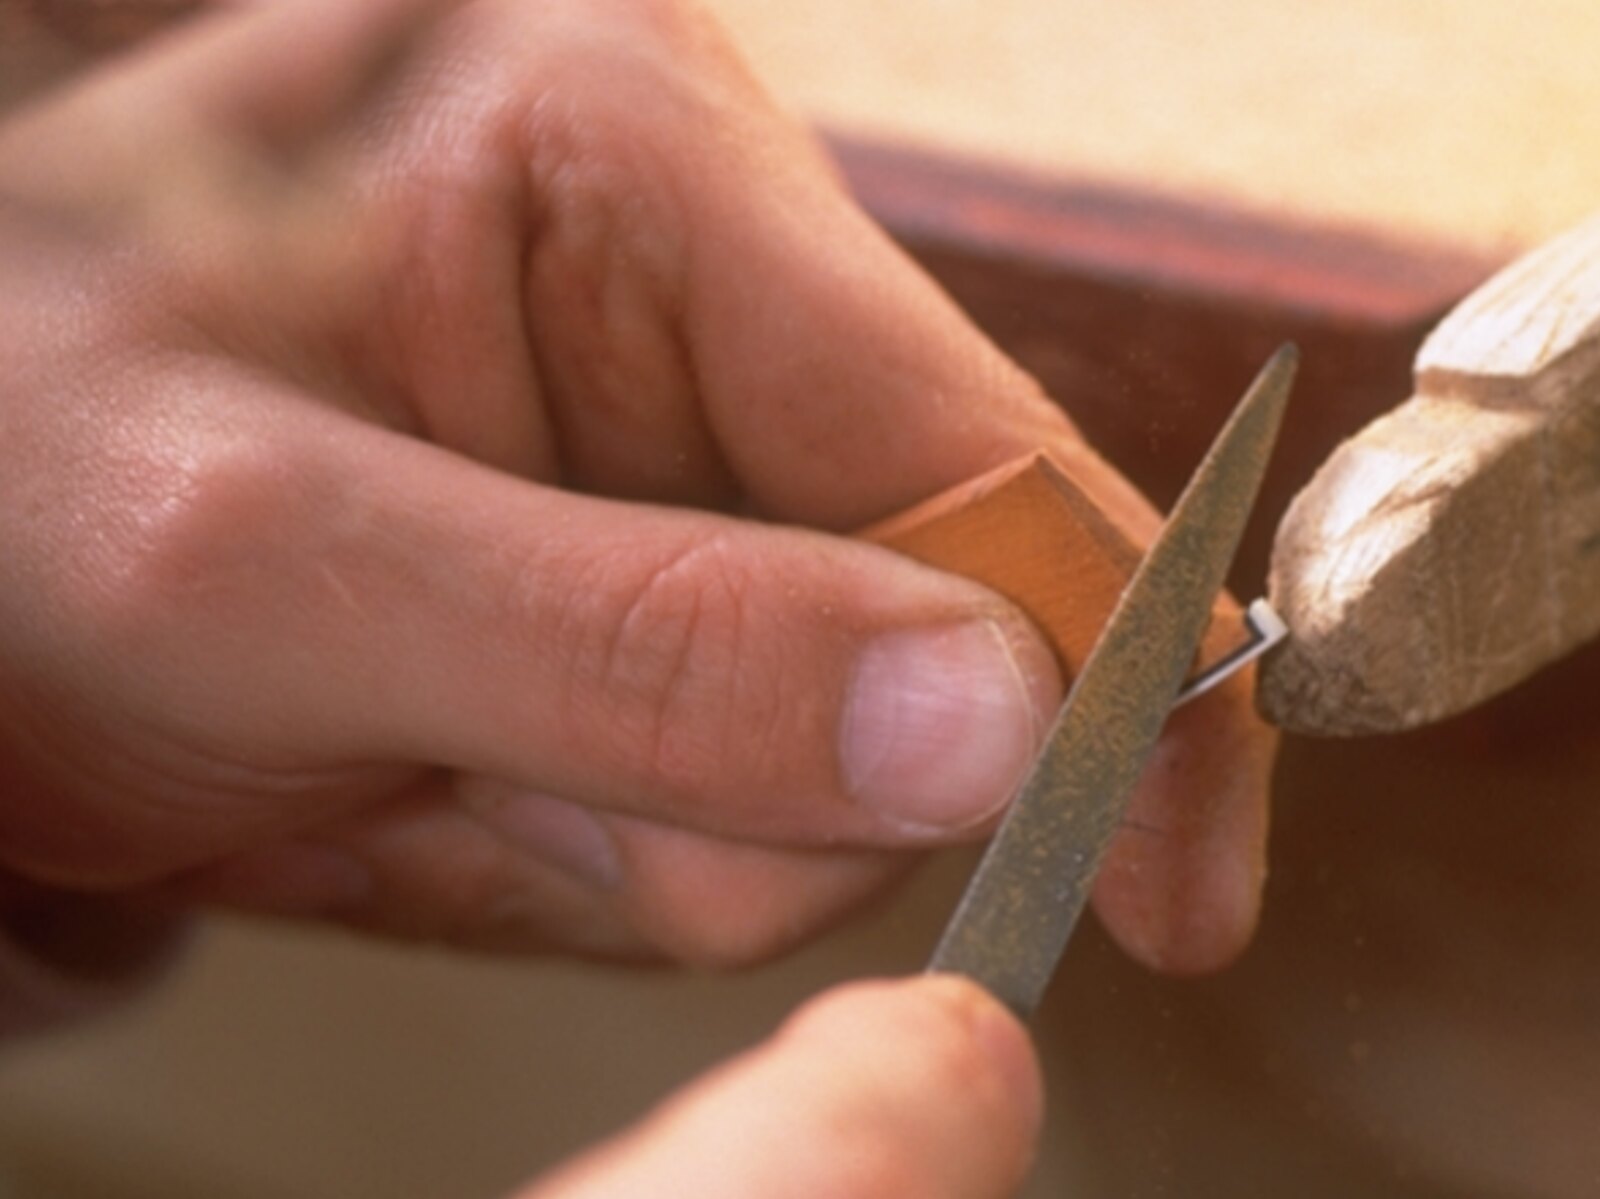
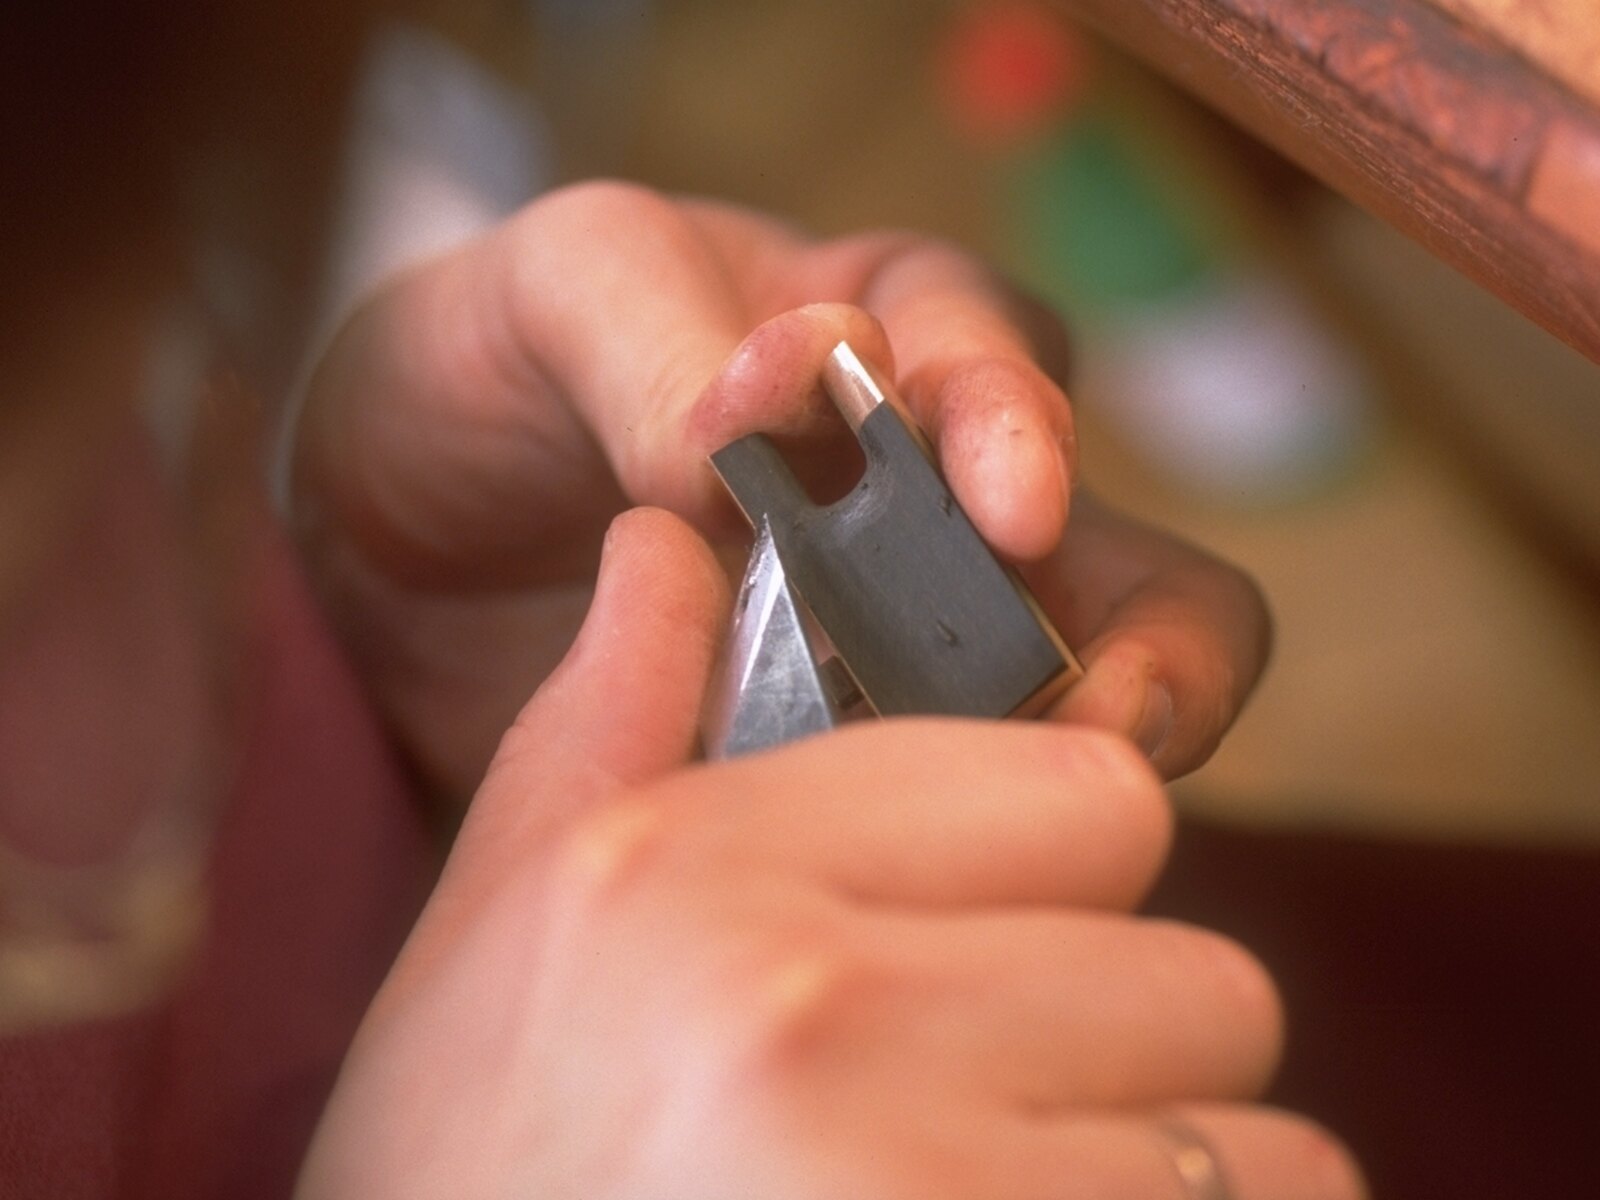
The back of the head is then refined. A bevel gauge, templates, and calipers help check angles and dimensions. The underside of the head is prepared for the tip plate. In our workshop, this is usually made from certified fossil mammoth with an ebony liner; depending on the model, silver, gold, or, for inexpensive bows, plastic may also be used.
Shaping the head itself begins the most visible stage of individual design. Its outline alone is not enough: the head must be understood as a three-dimensional whole. Width, taper, ridge, curves, and transitions all determine its character.
The Frog
Around the turn of the century, frog making developed into a separate trade in Germany. These specialist makers supplied many workshops with partly finished frogs. In the workshop of Bogenmachermeister Gerbeth, every stage is carried out in-house for high-quality pieces.
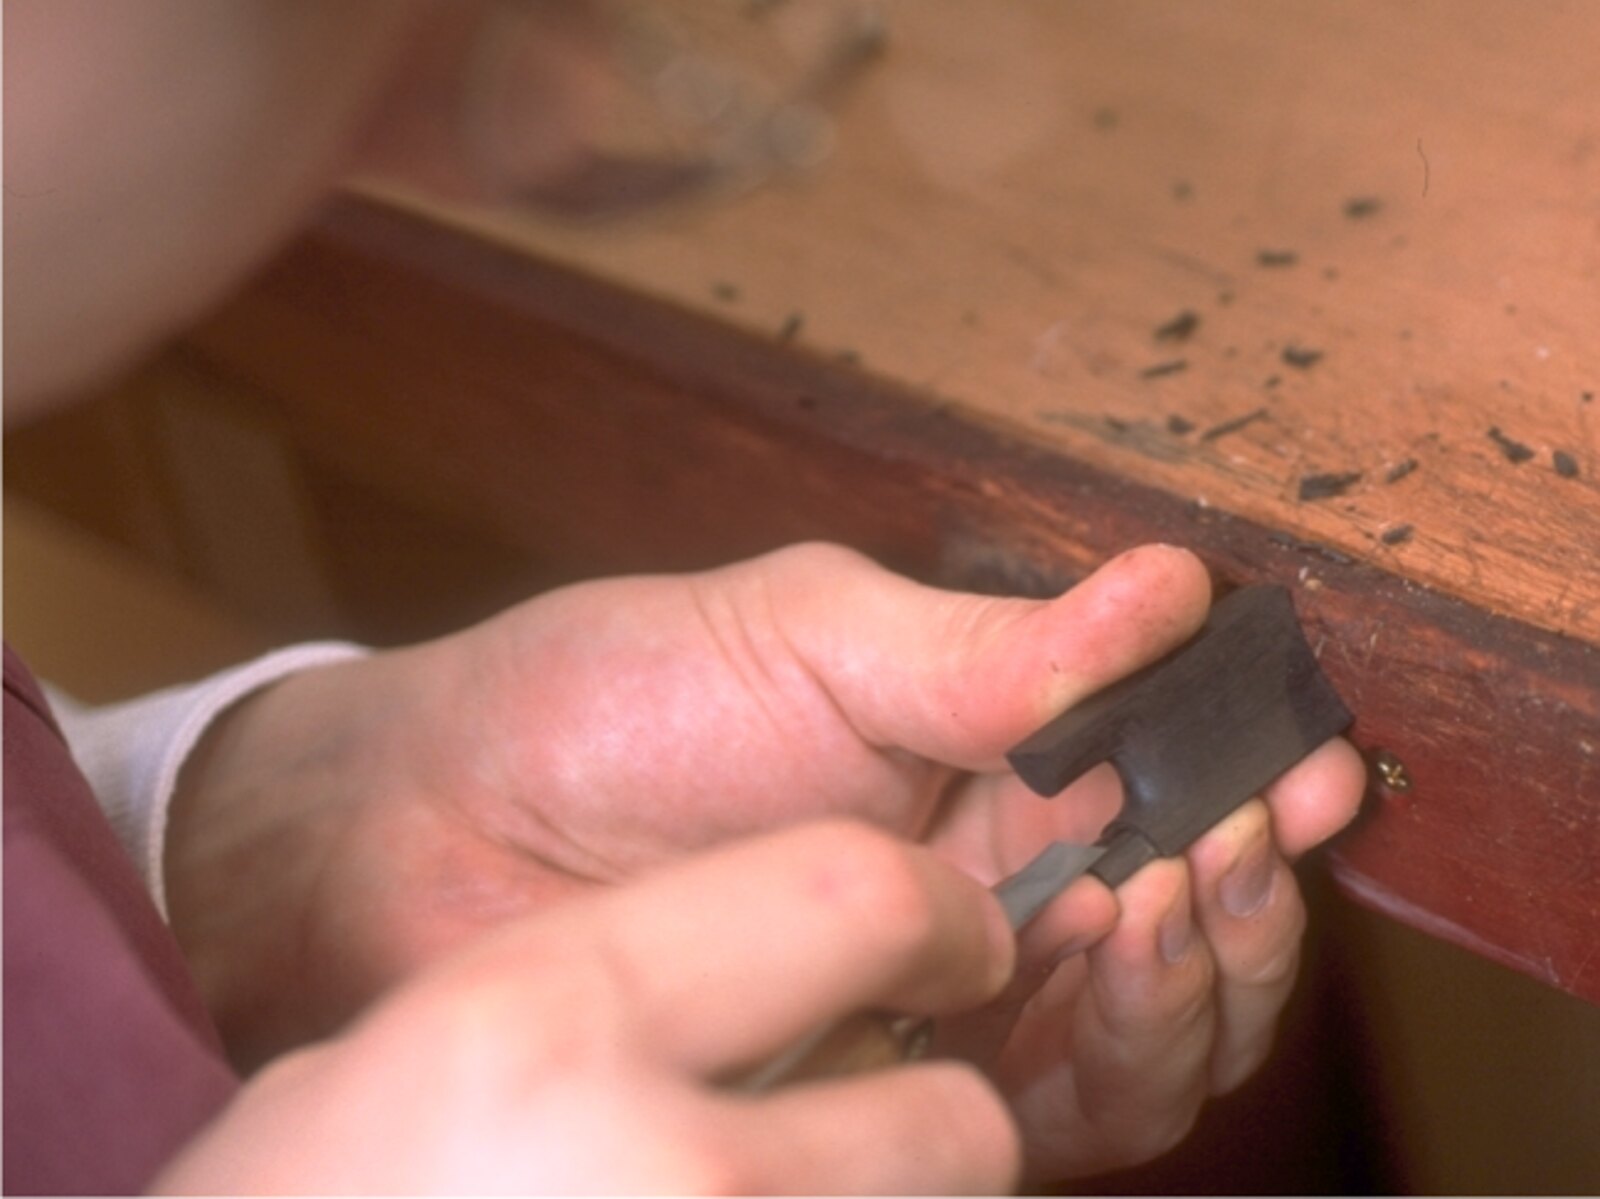
The starting point is an ebony blank, known in German as a Stöckel. It is brought to its basic dimensions; for a violin bow, the frog is generally about 45 mm long. Accurate angles are essential for all the steps that follow.
Ferrule, Slide, and Underslide
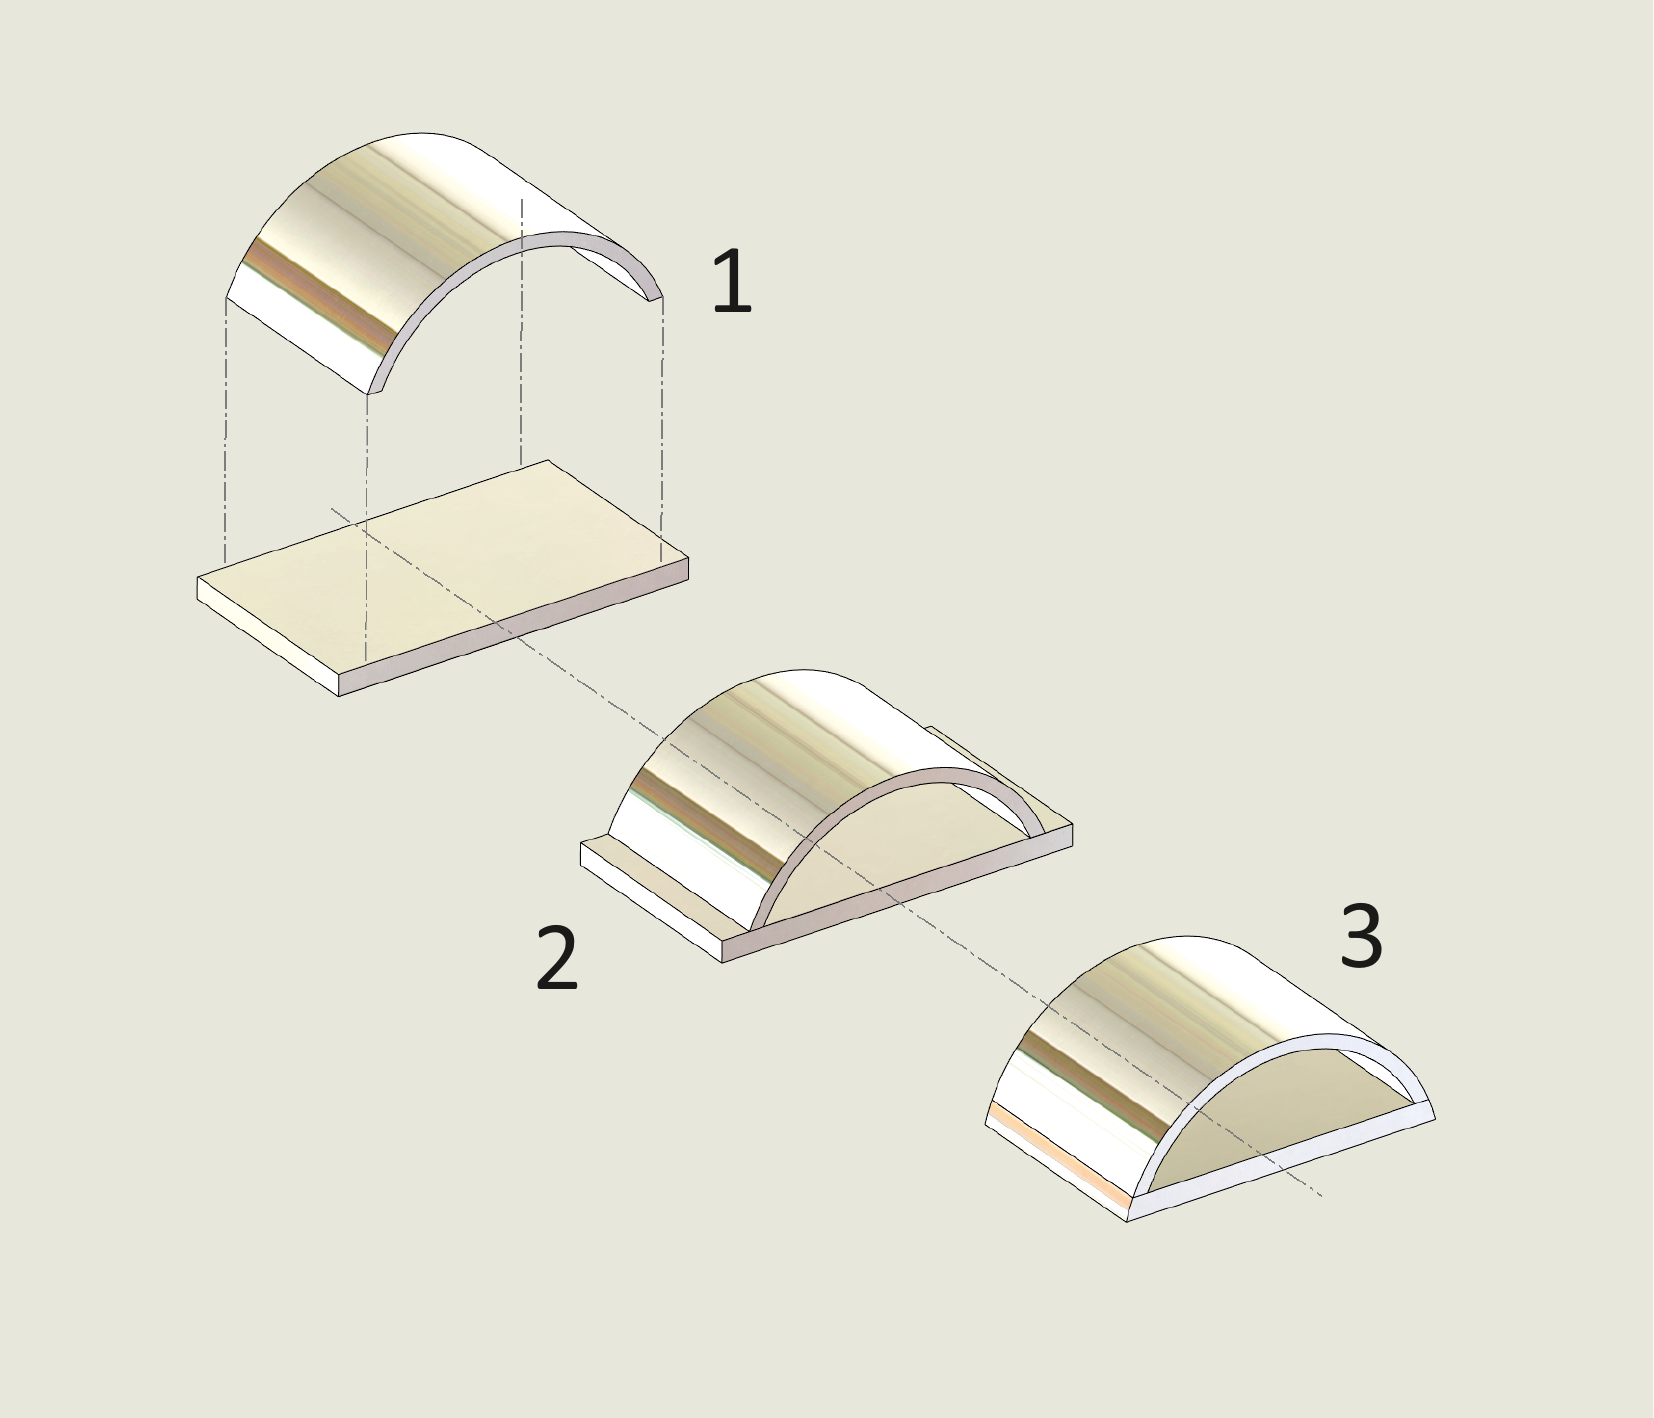
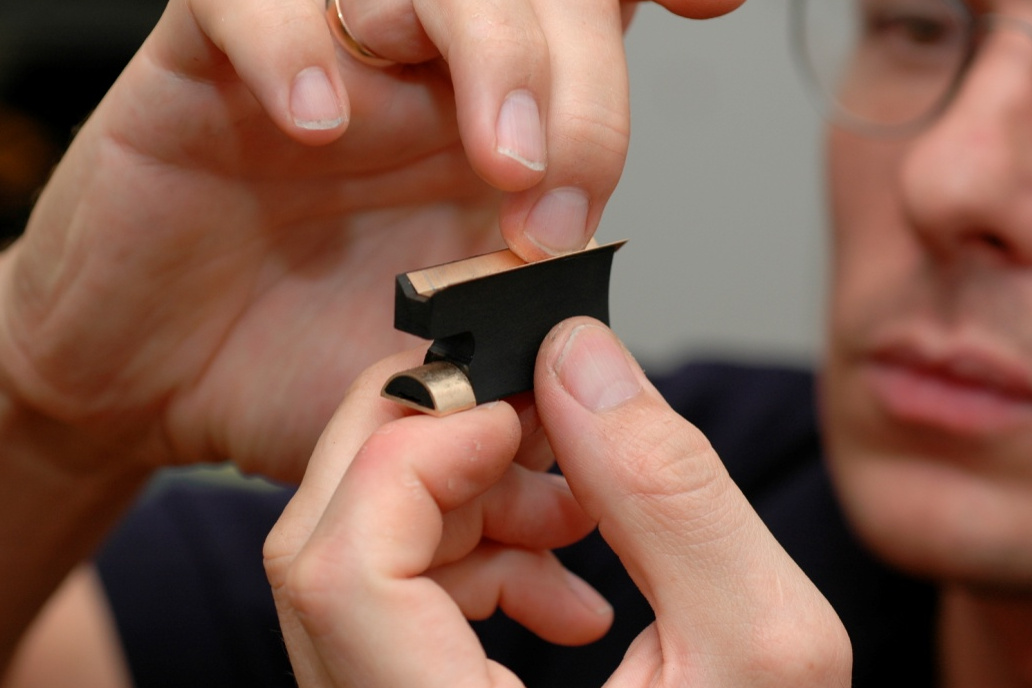
The ferrule consists of a flat plate and a curved band joined by hard soldering. After it has been shaped on a mandrel, the frog’s tongue is worked until the ferrule fits firmly without being too tight. From this point onward, the ferrule determines key aspects of the frog’s geometry.
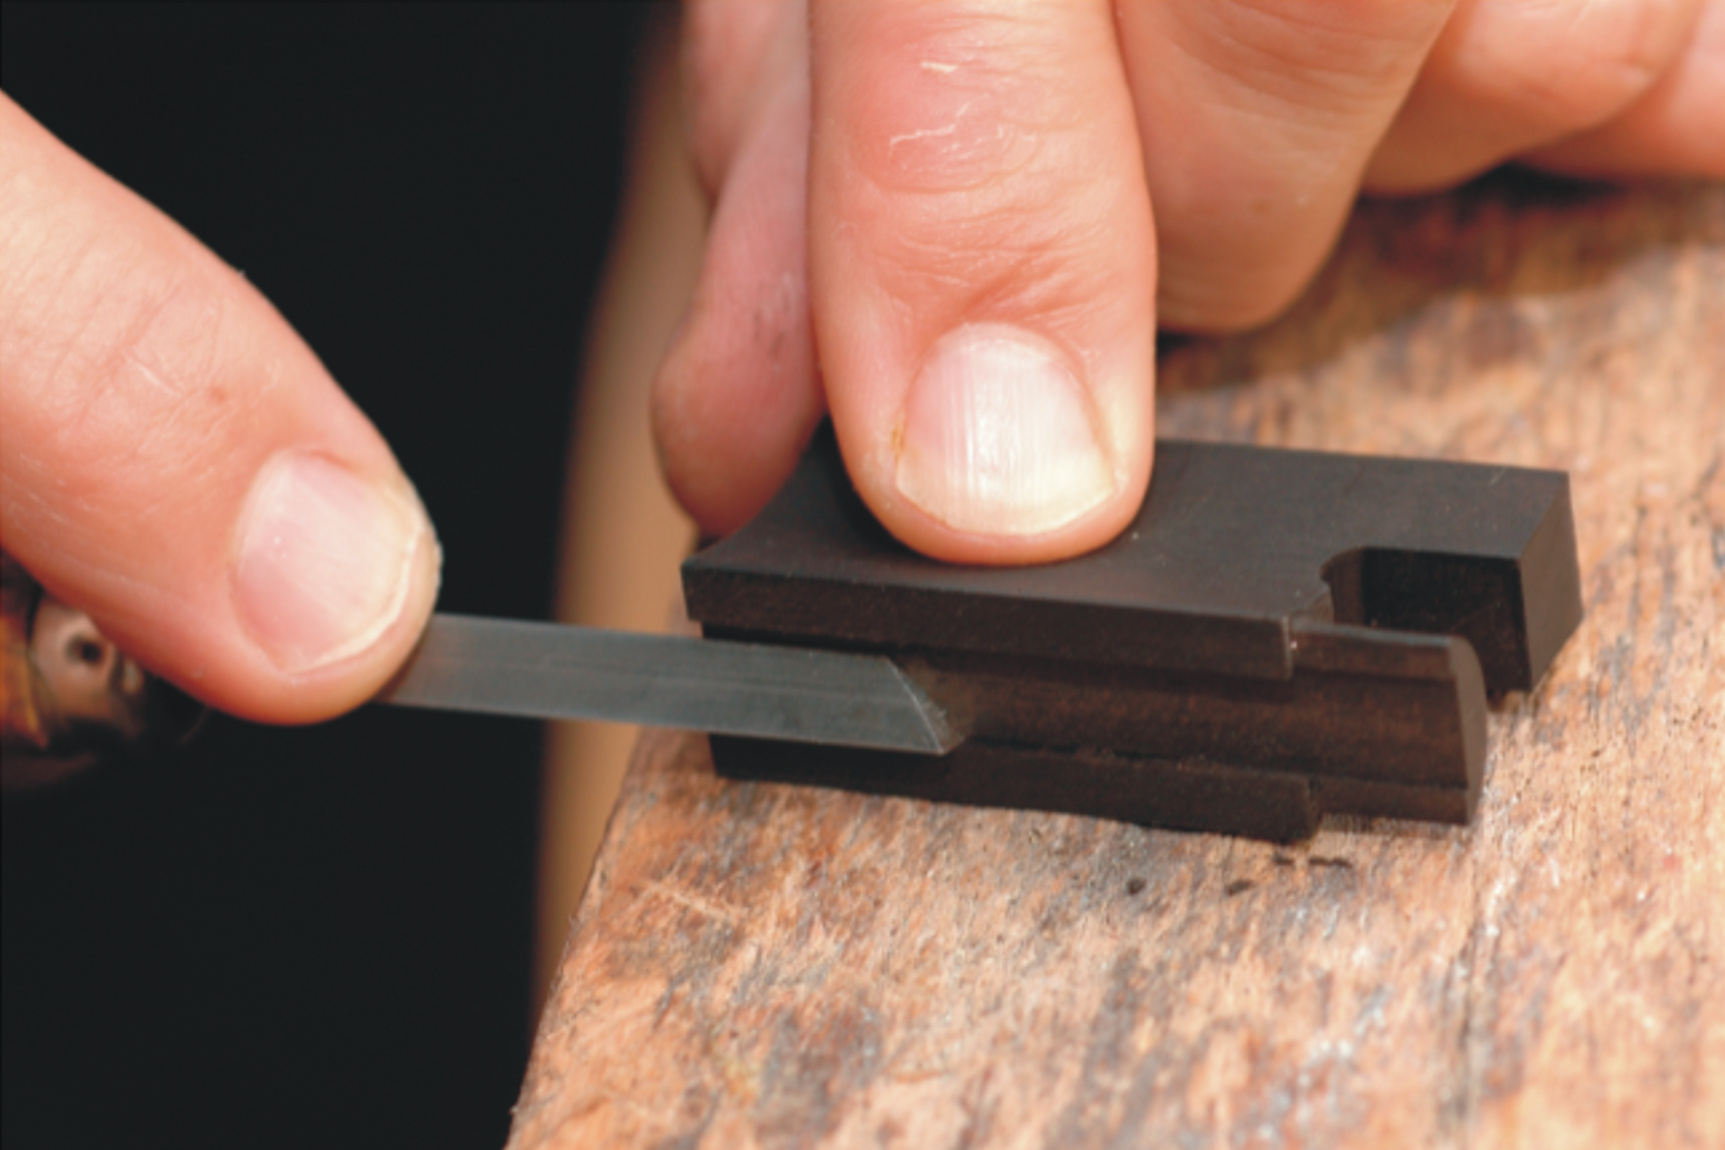
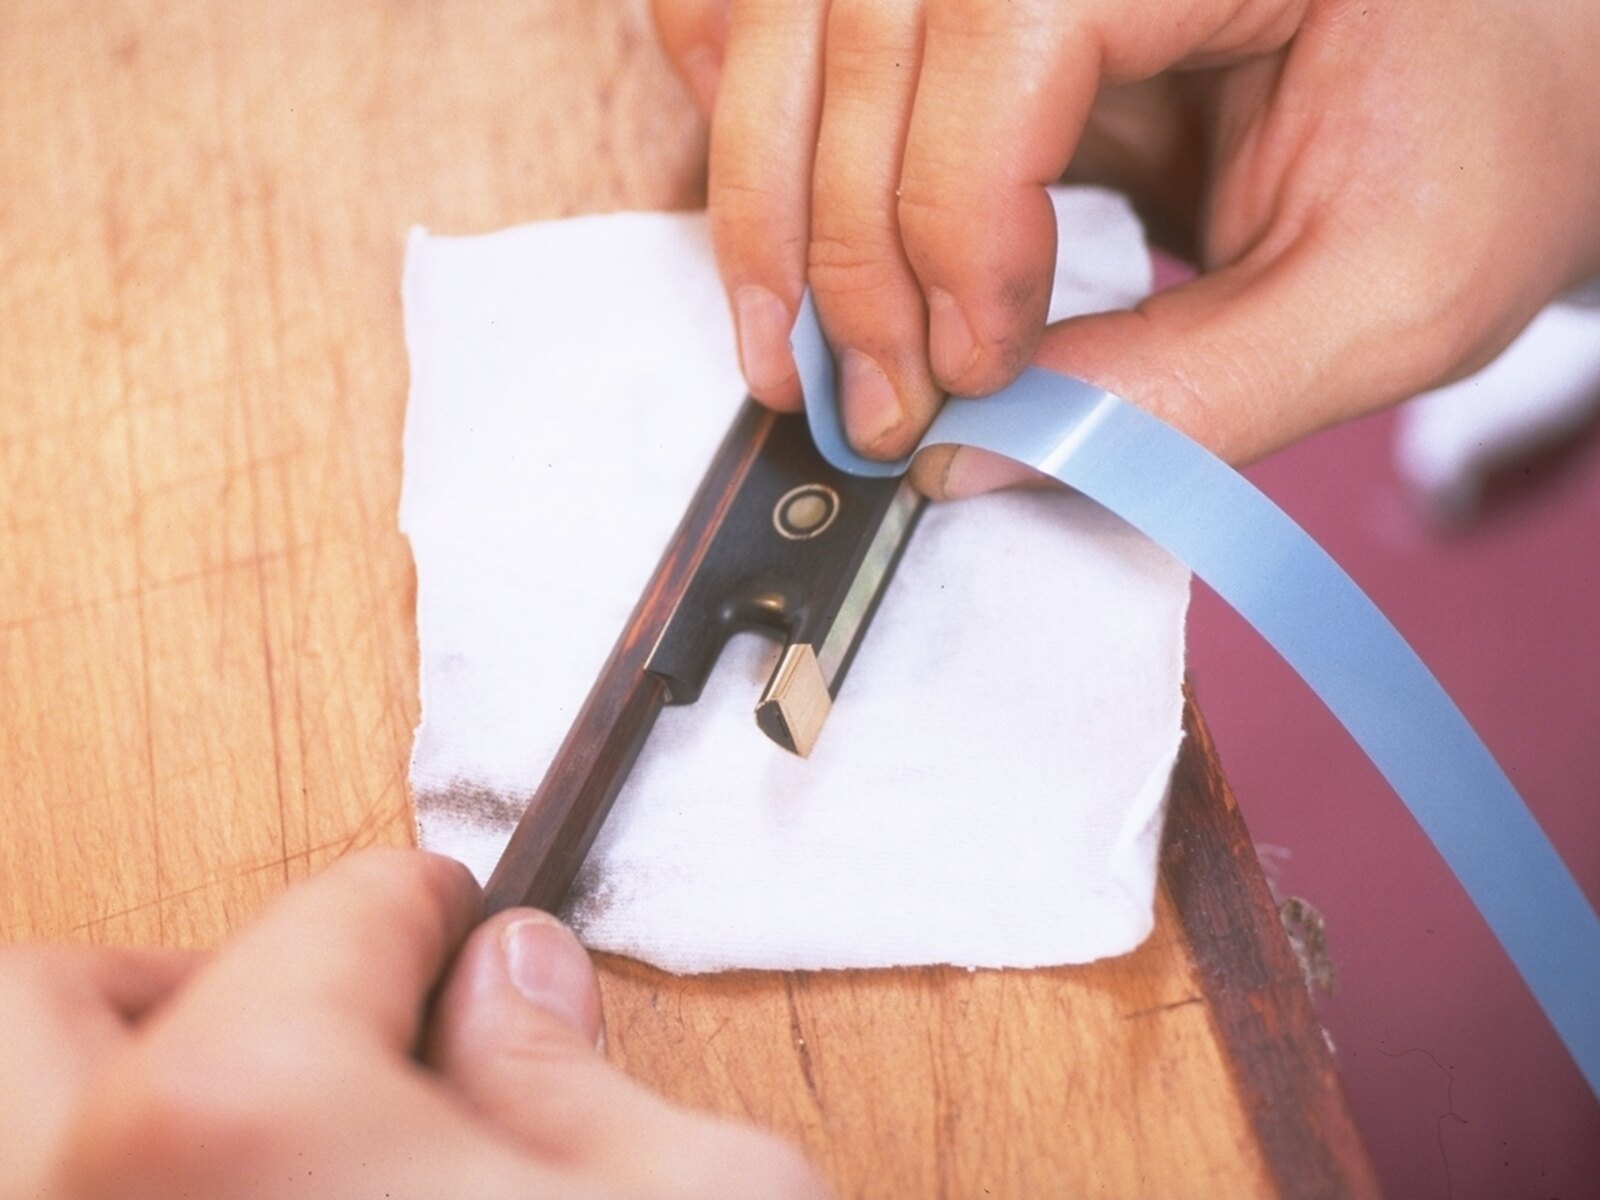
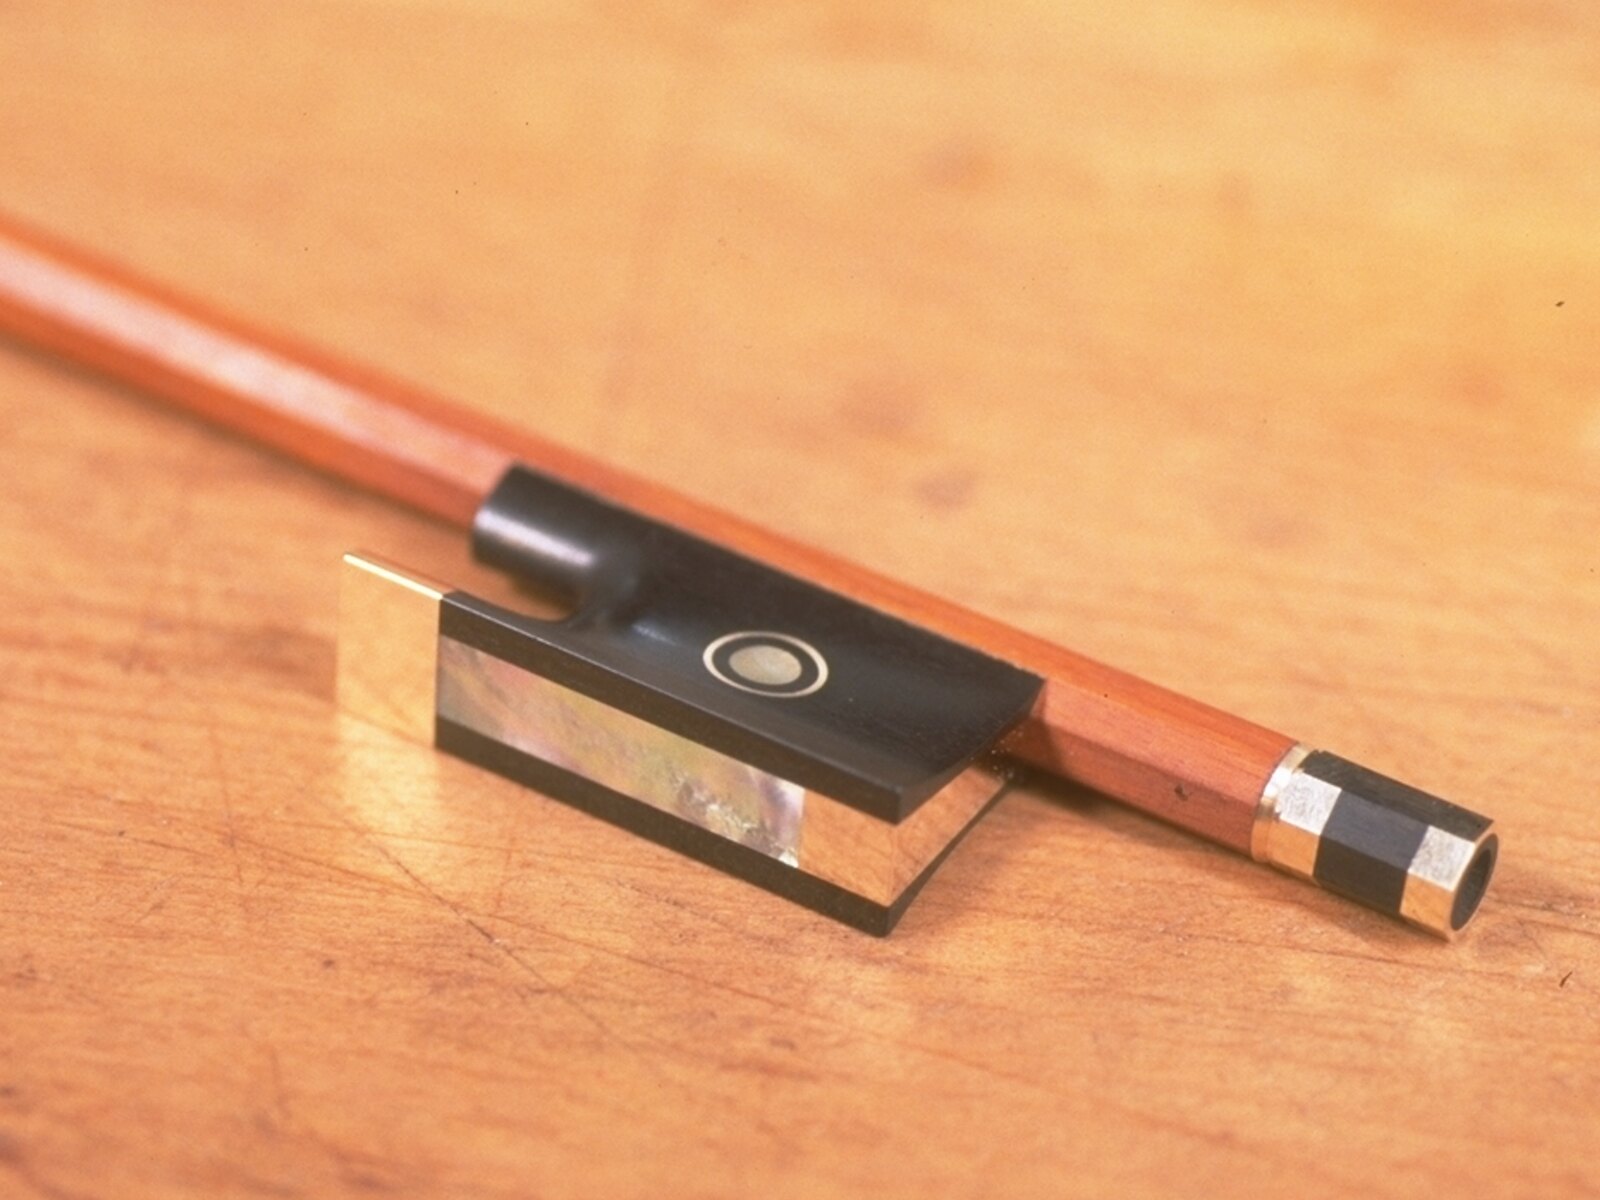
The slide channel is then cut as a precise dovetail joint. The slide combines a mother-of-pearl plate with a small gold or silver plate and an ebony backing. Tolerances are less than one tenth of a millimeter. The heel plate must be perfectly symmetrical; the slide and heel plate should ultimately appear as one continuous line.
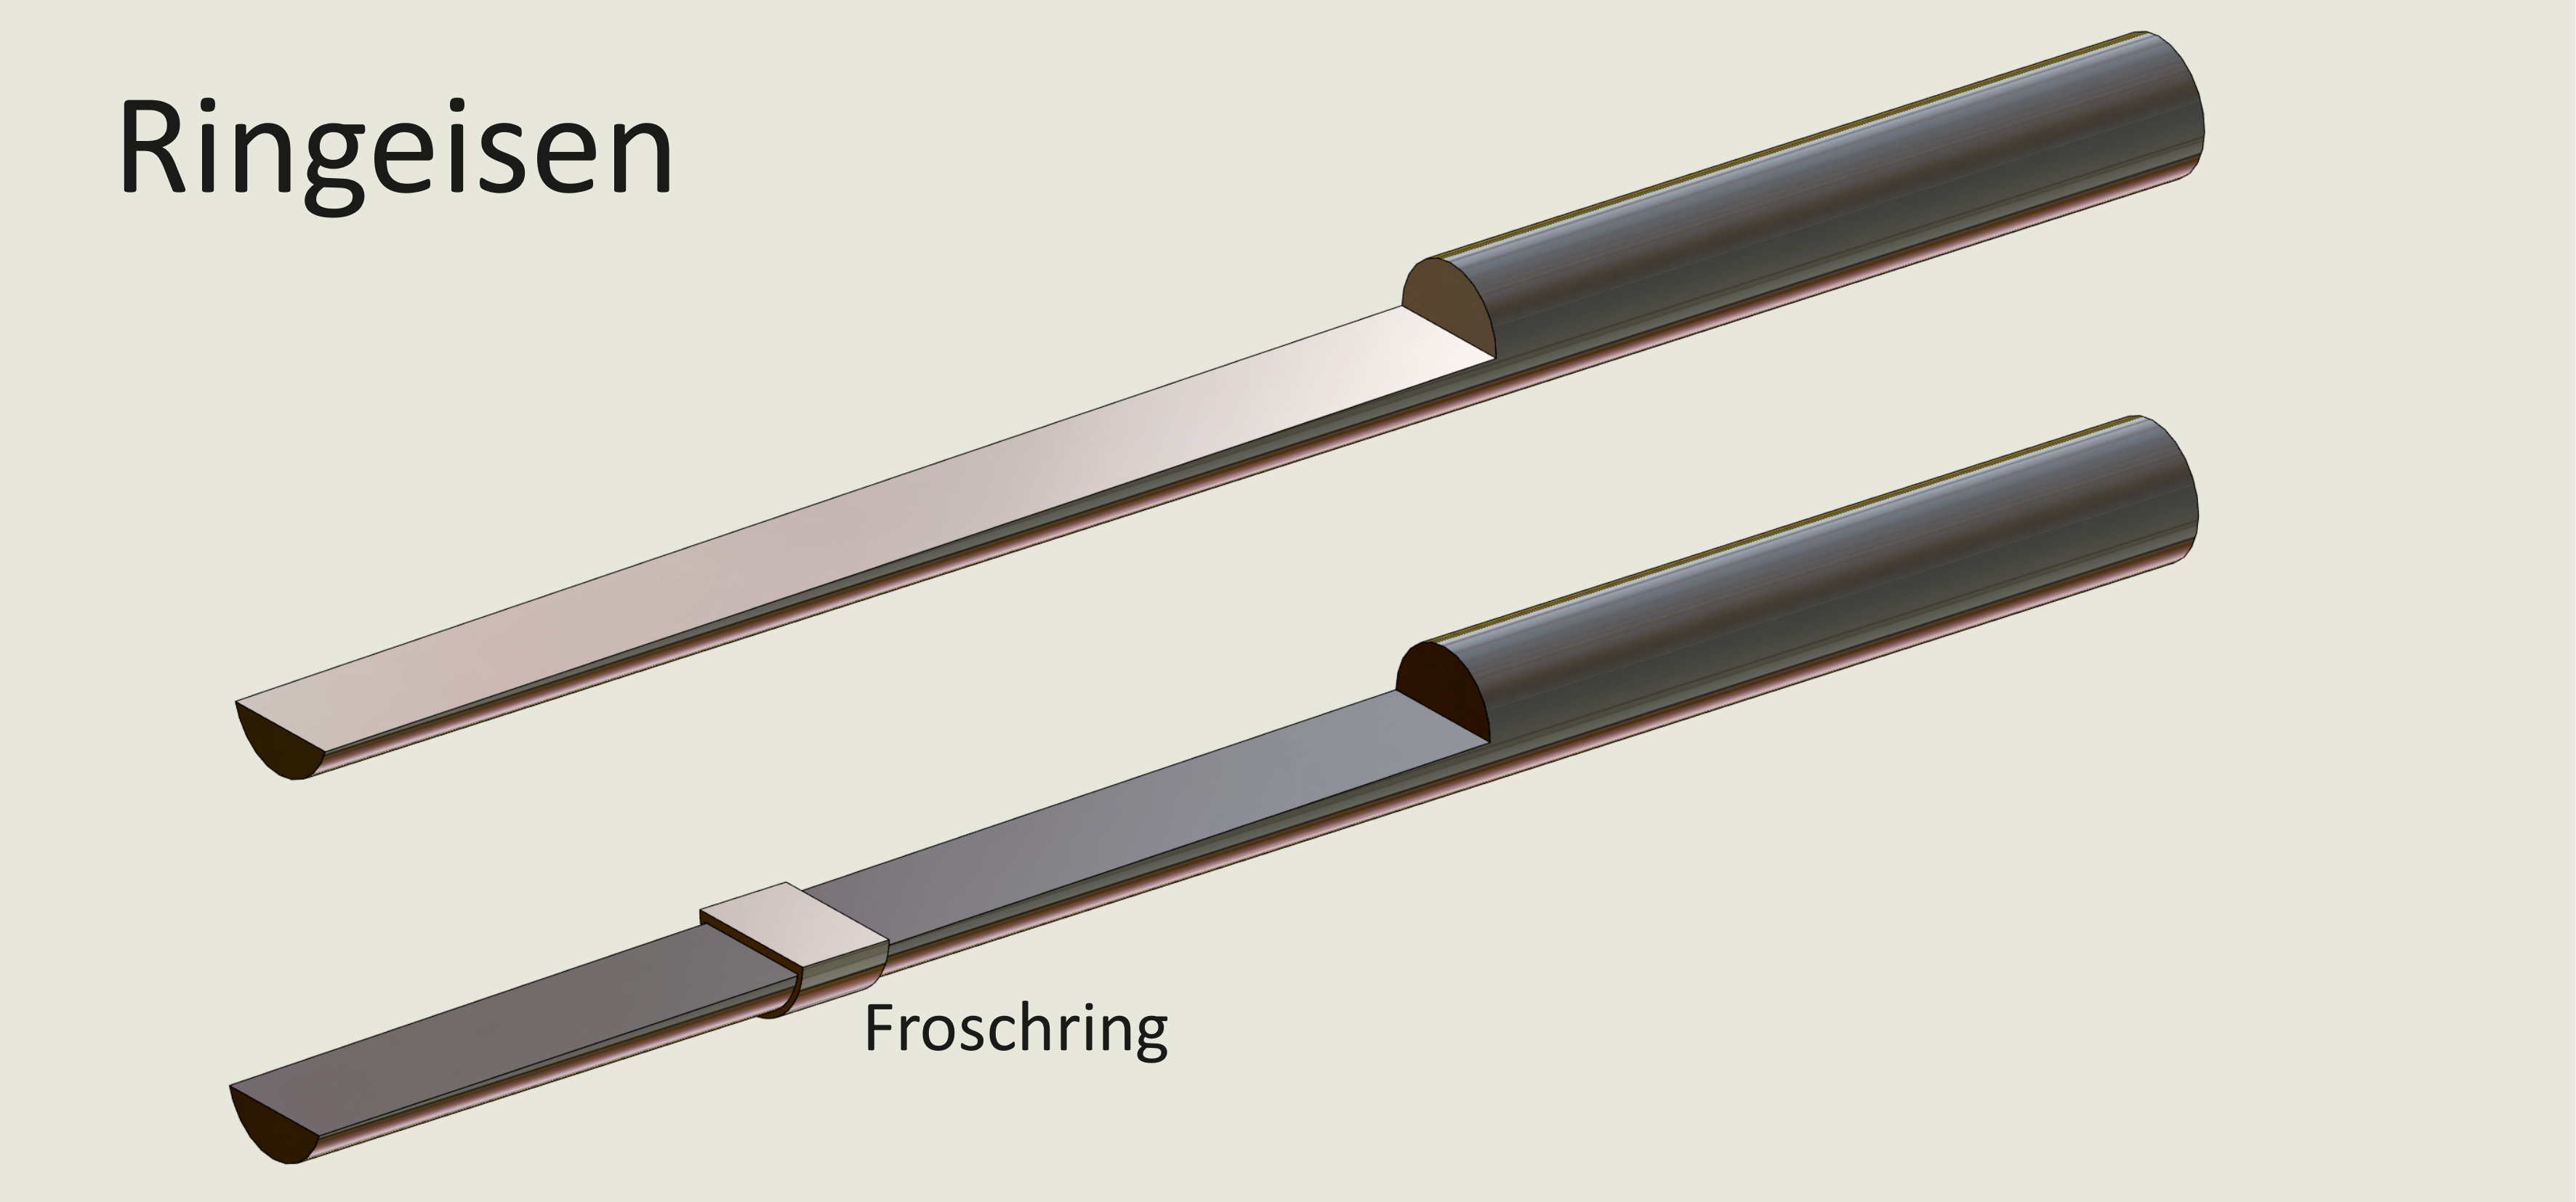
The underslide is a thin gold or silver plate that wraps around three faces of the stick at its lower end. The top of the frog is worked until the underslide fits without a gap. After gluing and screwing it in place, the inner faces are smoothed. The more precise the edges, the more easily the frog will move along the stick without play.
Frog and Stick
The frog’s underslide is now fitted to the stick. All three faces must make contact without gaps; the frog must not rock. The angles at the end of the stick are therefore matched to the underslide with a finely set plane, using a file only for corrections.
At the same time, the alignment of frog and head is checked. Viewed from above with the head upright, the frog should project equally on both sides of the stick.
The stick is then planed again. The remaining excess is reduced, and long plane strokes bring the graduation closer to its final dimensions. Weight, stiffness, balance point, and the properties of the particular piece of wood are considered together.
Hair Tension as a Design Factor
A resistant stick can tension the hair very firmly, providing an excellent basis for precise bouncing strokes and technical finesse. At the same time, the hair is less able to wrap flexibly around the string, so the response requires more initial pressure. With the same camber, a very flexible stick produces lower hair tension. The sound may develop more easily and fully, while technical control and spring action decrease.
The task is therefore to coordinate stiffness and camber so that technical reaction, response, and tone come as close as possible to the musician’s expectations.
The Button
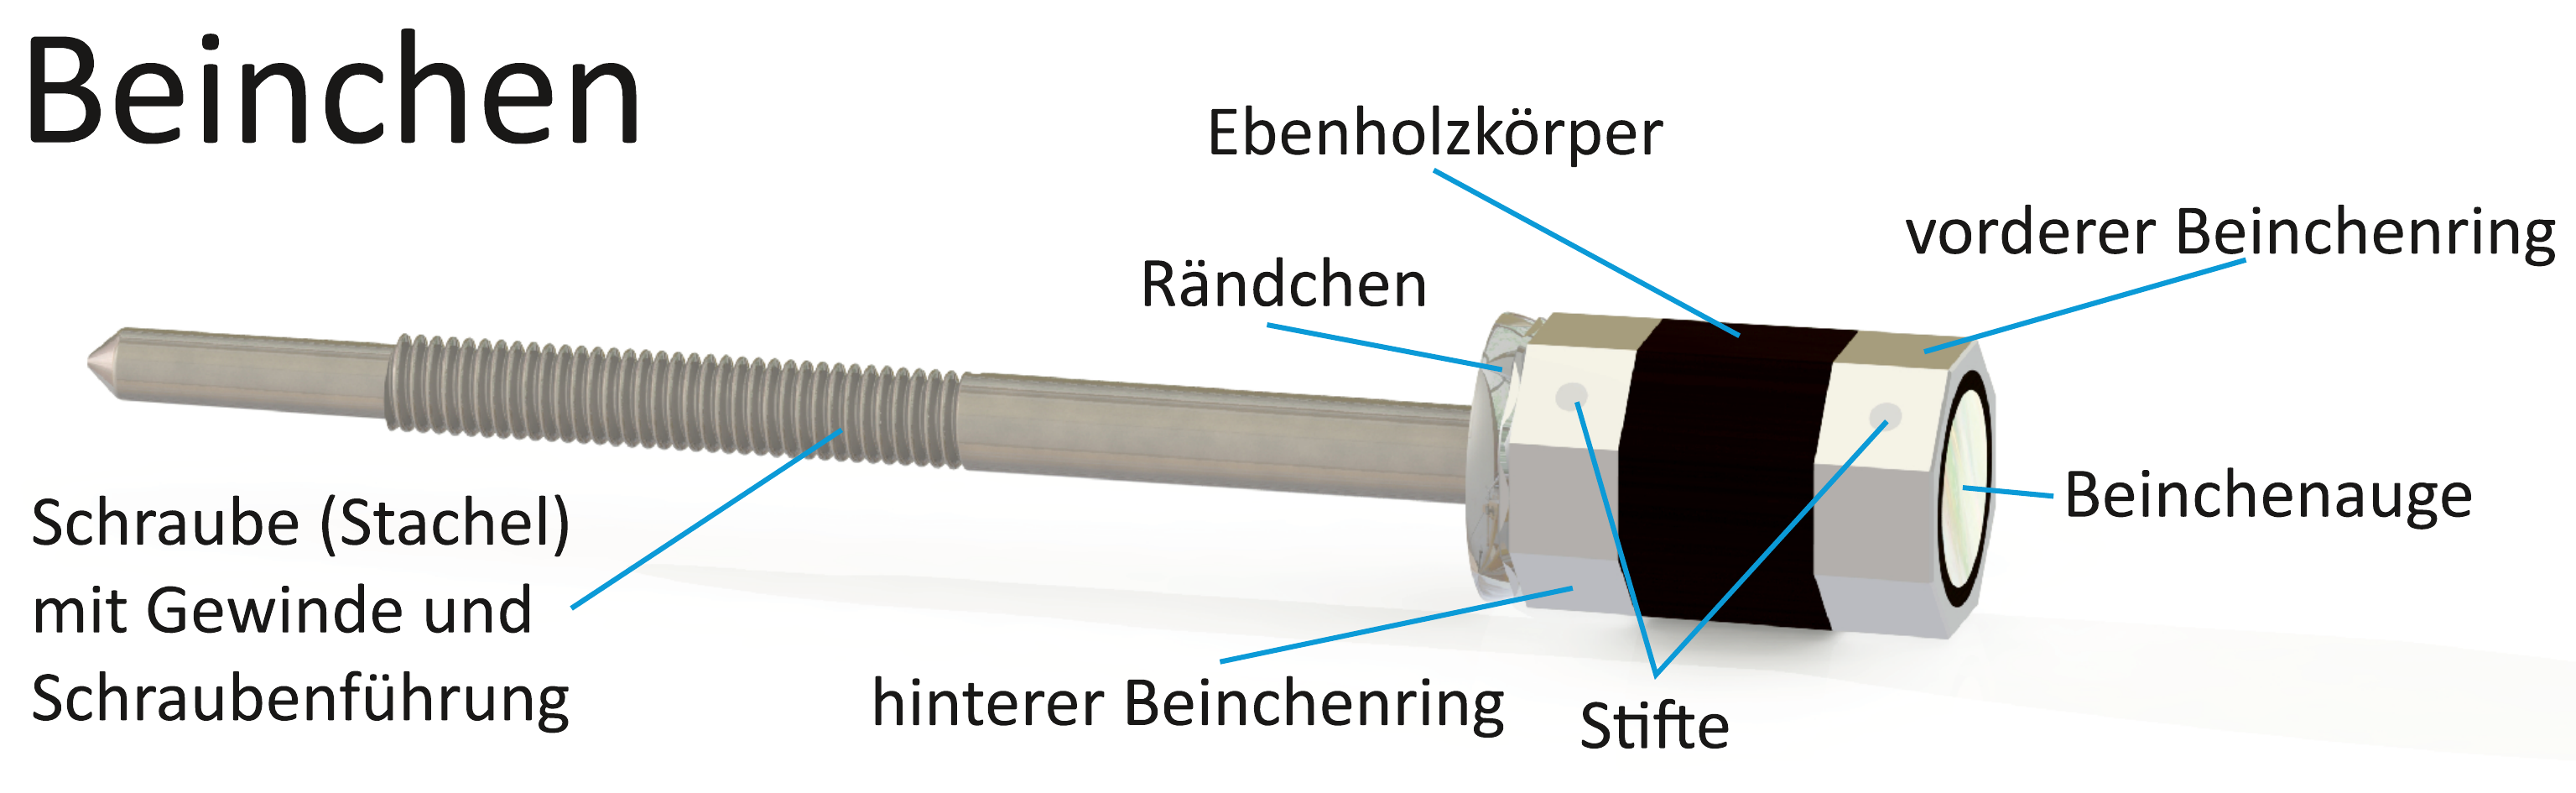
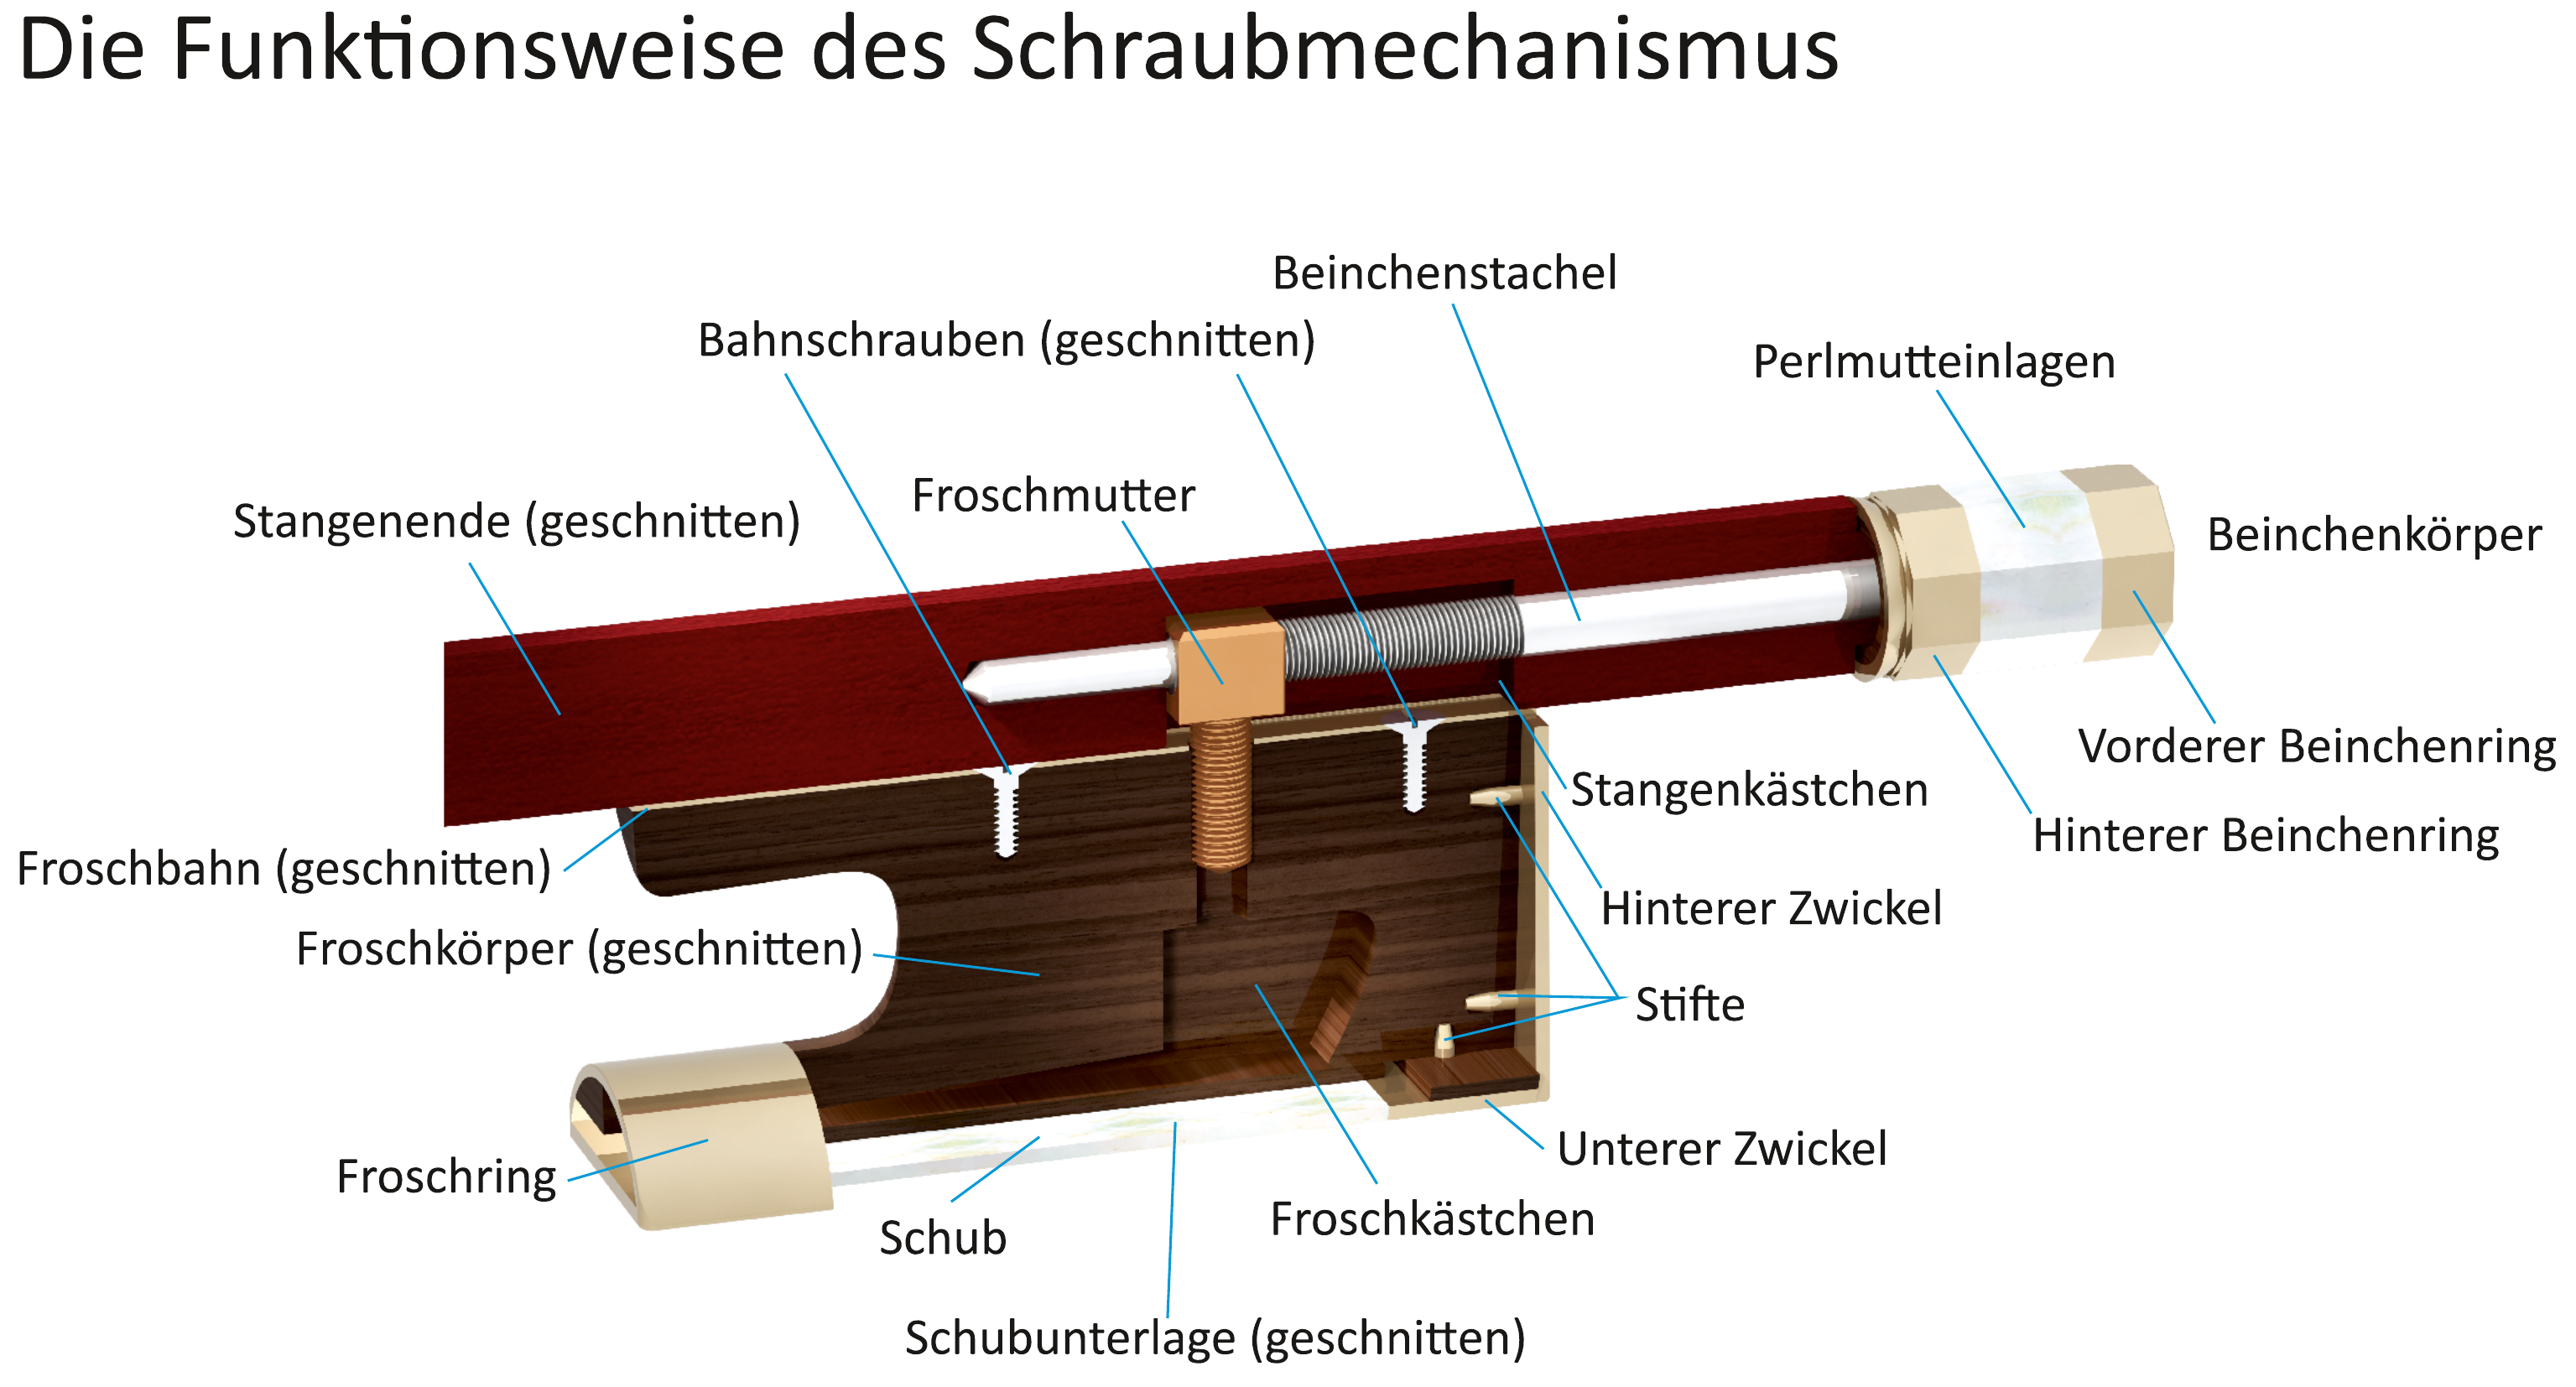
The German term Beinchen for the bow’s screw adjuster refers to the earlier use of bone. The familiar form with an ebony core and metal rings became established in the early 19th century. The button assembly consists of at least seven components: an ebony body, two metal rings, at least two metal pins, an eyelet, and a screw.
Both ends of the ebony core are turned on a lathe so that the rings, previously cut from silver or gold tubing, fit exactly. After gluing, holes are drilled for the eye, screw, and locating pin. A collar is formed on the inner metal ring; the screw is inserted, and the rings are additionally secured with invisibly riveted metal pins to counteract the ebony’s swelling and shrinkage.
Finally, the initially round body is filed into an octagon. Its dimensions must match the end of the stick precisely. Fine abrasive cloth and polishing compounds give the button its finished surface.
Fine Work on the Stick
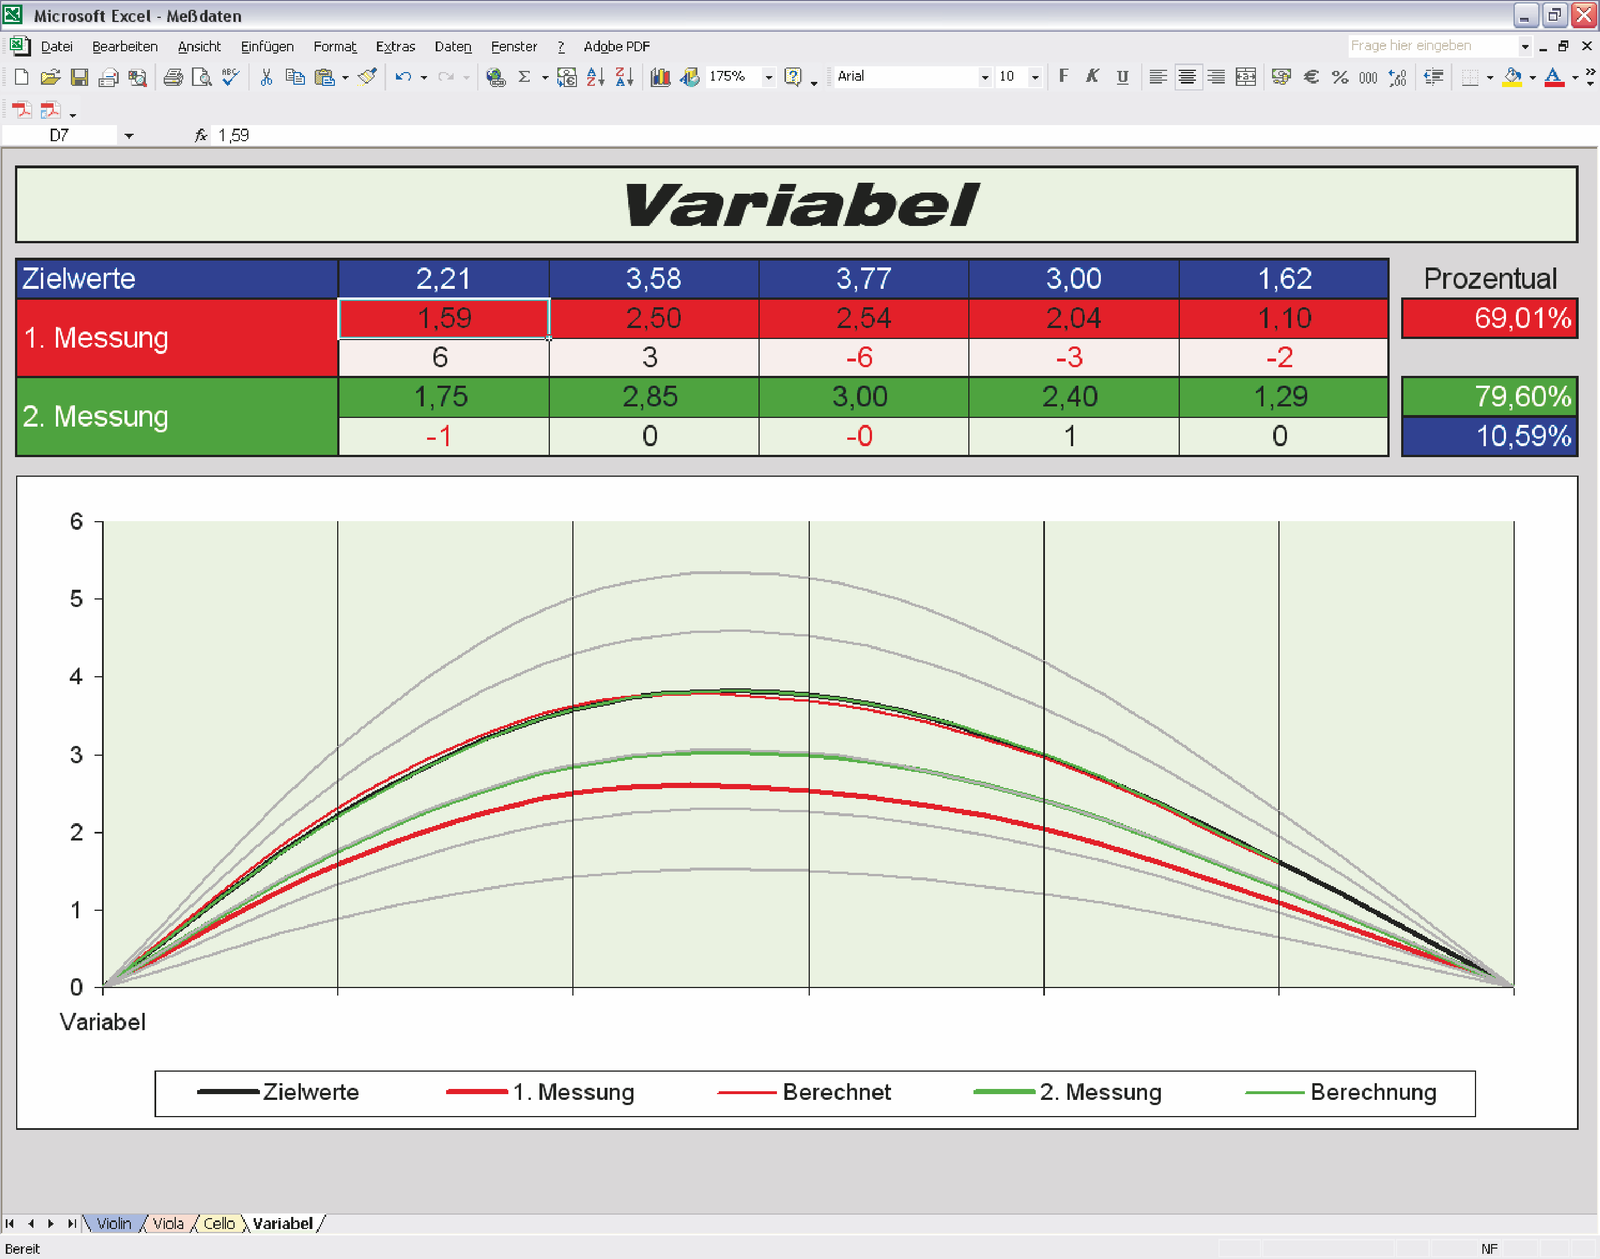
Before the final dimensions are reached, a simple steel cable can simulate the stick’s behavior under tension. This allows the camber to be checked and corrected before horsehair is fitted.
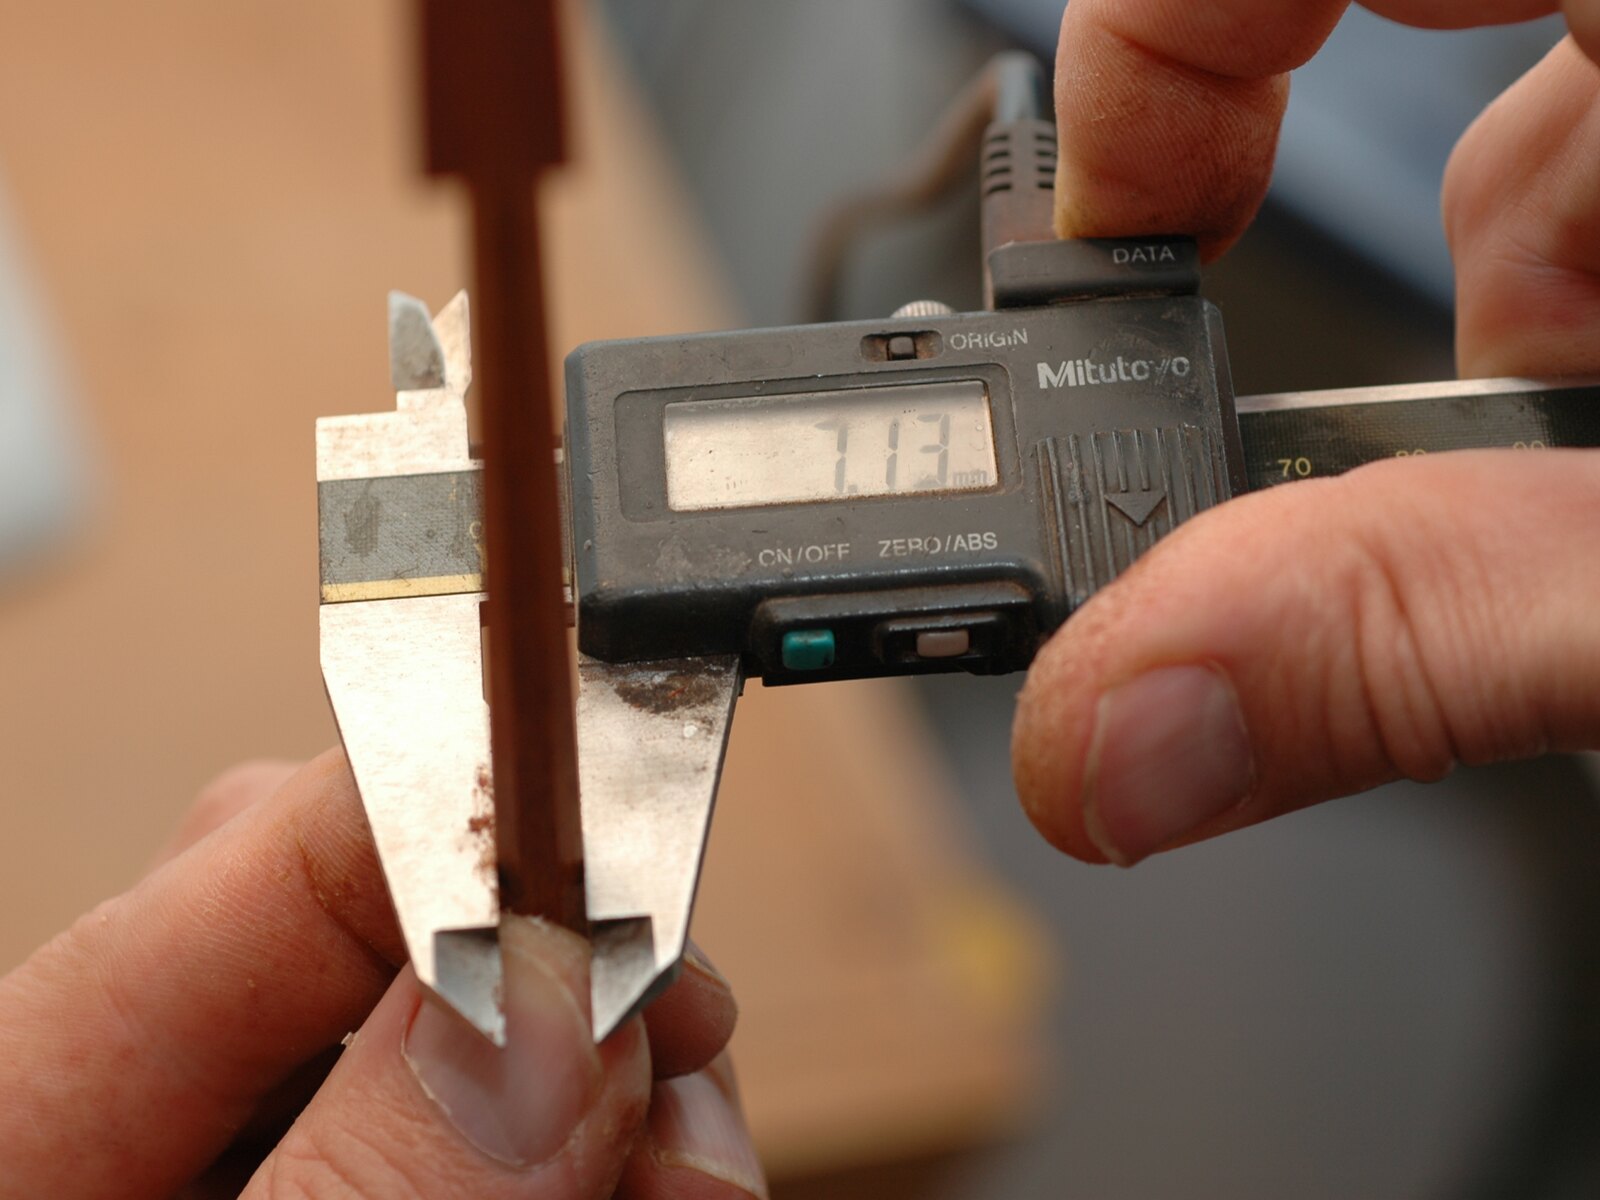
After the preceding work, the stick remains about 0.4 mm oversize. A finely set plane reduces it further in long strokes. Dimensions are checked at seven measuring points spaced 100 mm apart. Once the excess is consistently about 0.2 mm, the diagonal faces are also worked.
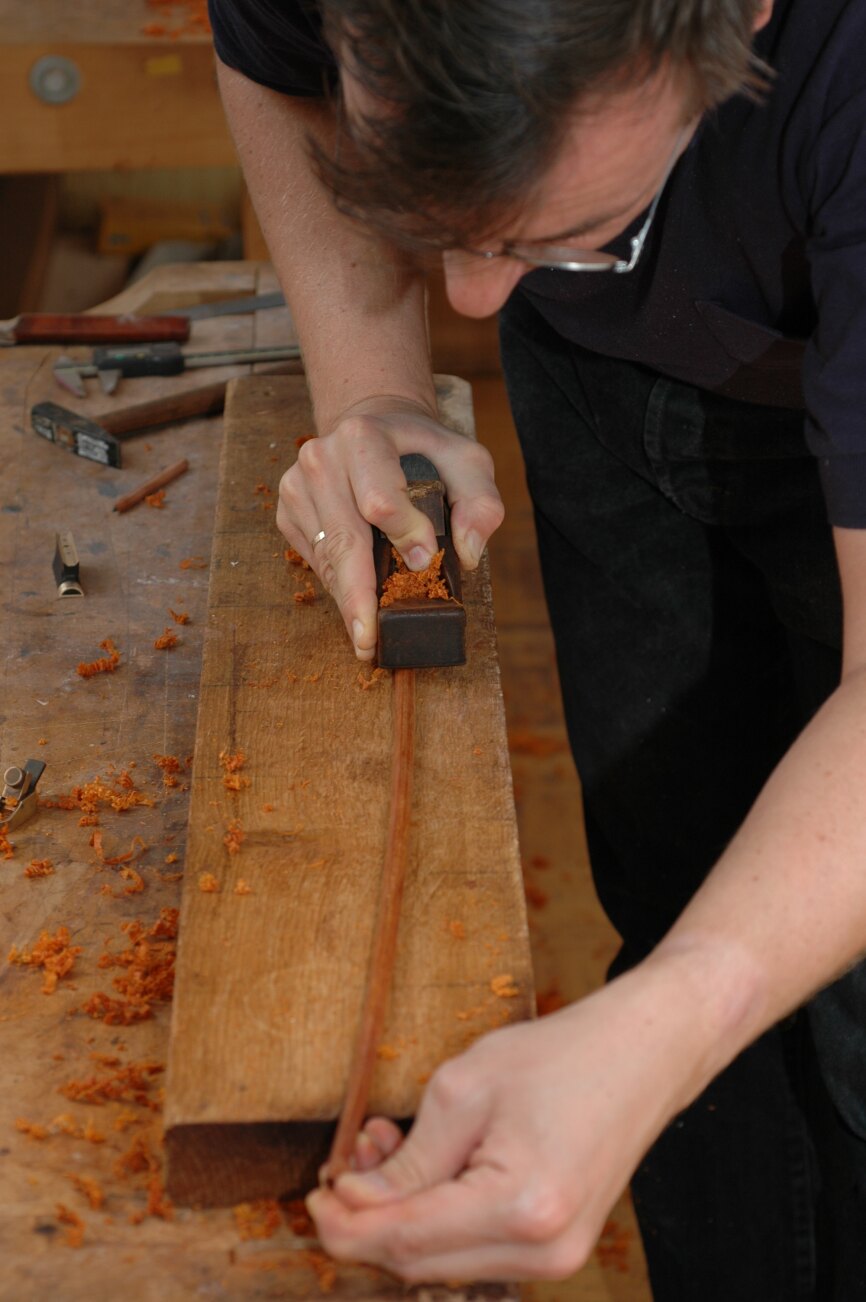
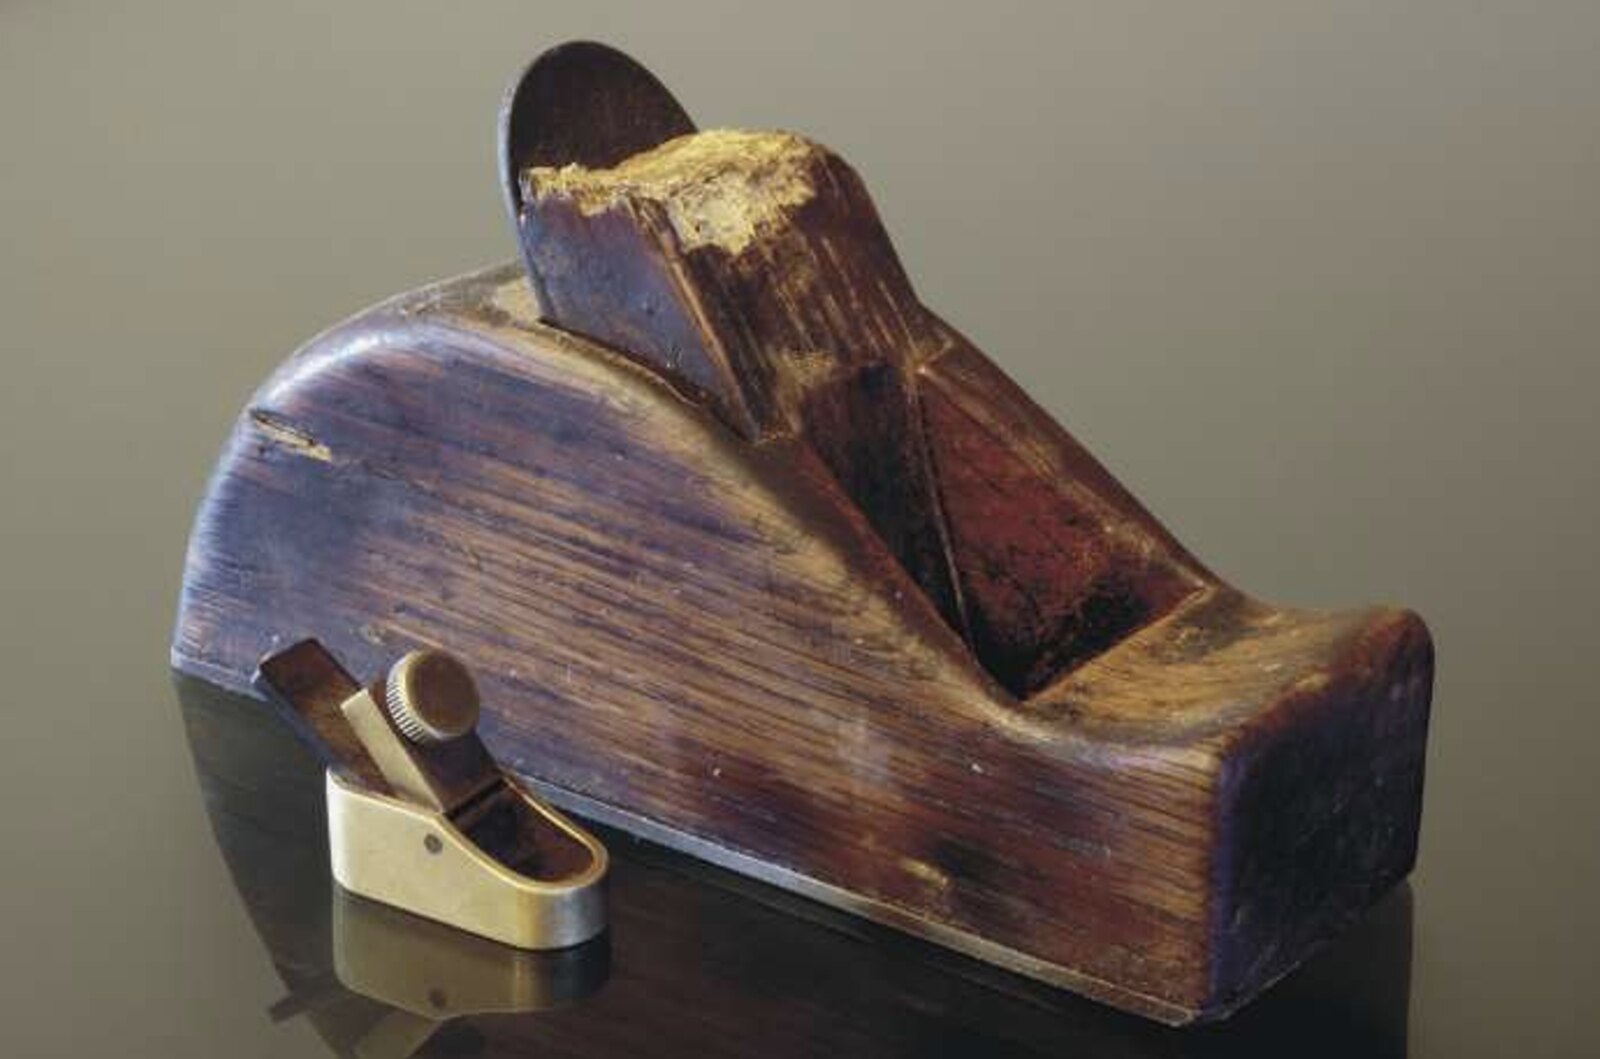
At this stage, the difference between the two schools becomes apparent again. The large German plane allows long, very even strokes, but working several of the faces requires the already cambered stick to be pressed down firmly. The small French brass plane requires less force. Both methods demand great precision.
Step by step, the stick is brought to its final dimensions. If it is to be round, the edges are systematically worked from an octagon through 16-sided and 32-sided sections to a circular cross section. Sanding and polishing ultimately bring the remaining deviation from the target stiffness toward zero.
Surface and Signature
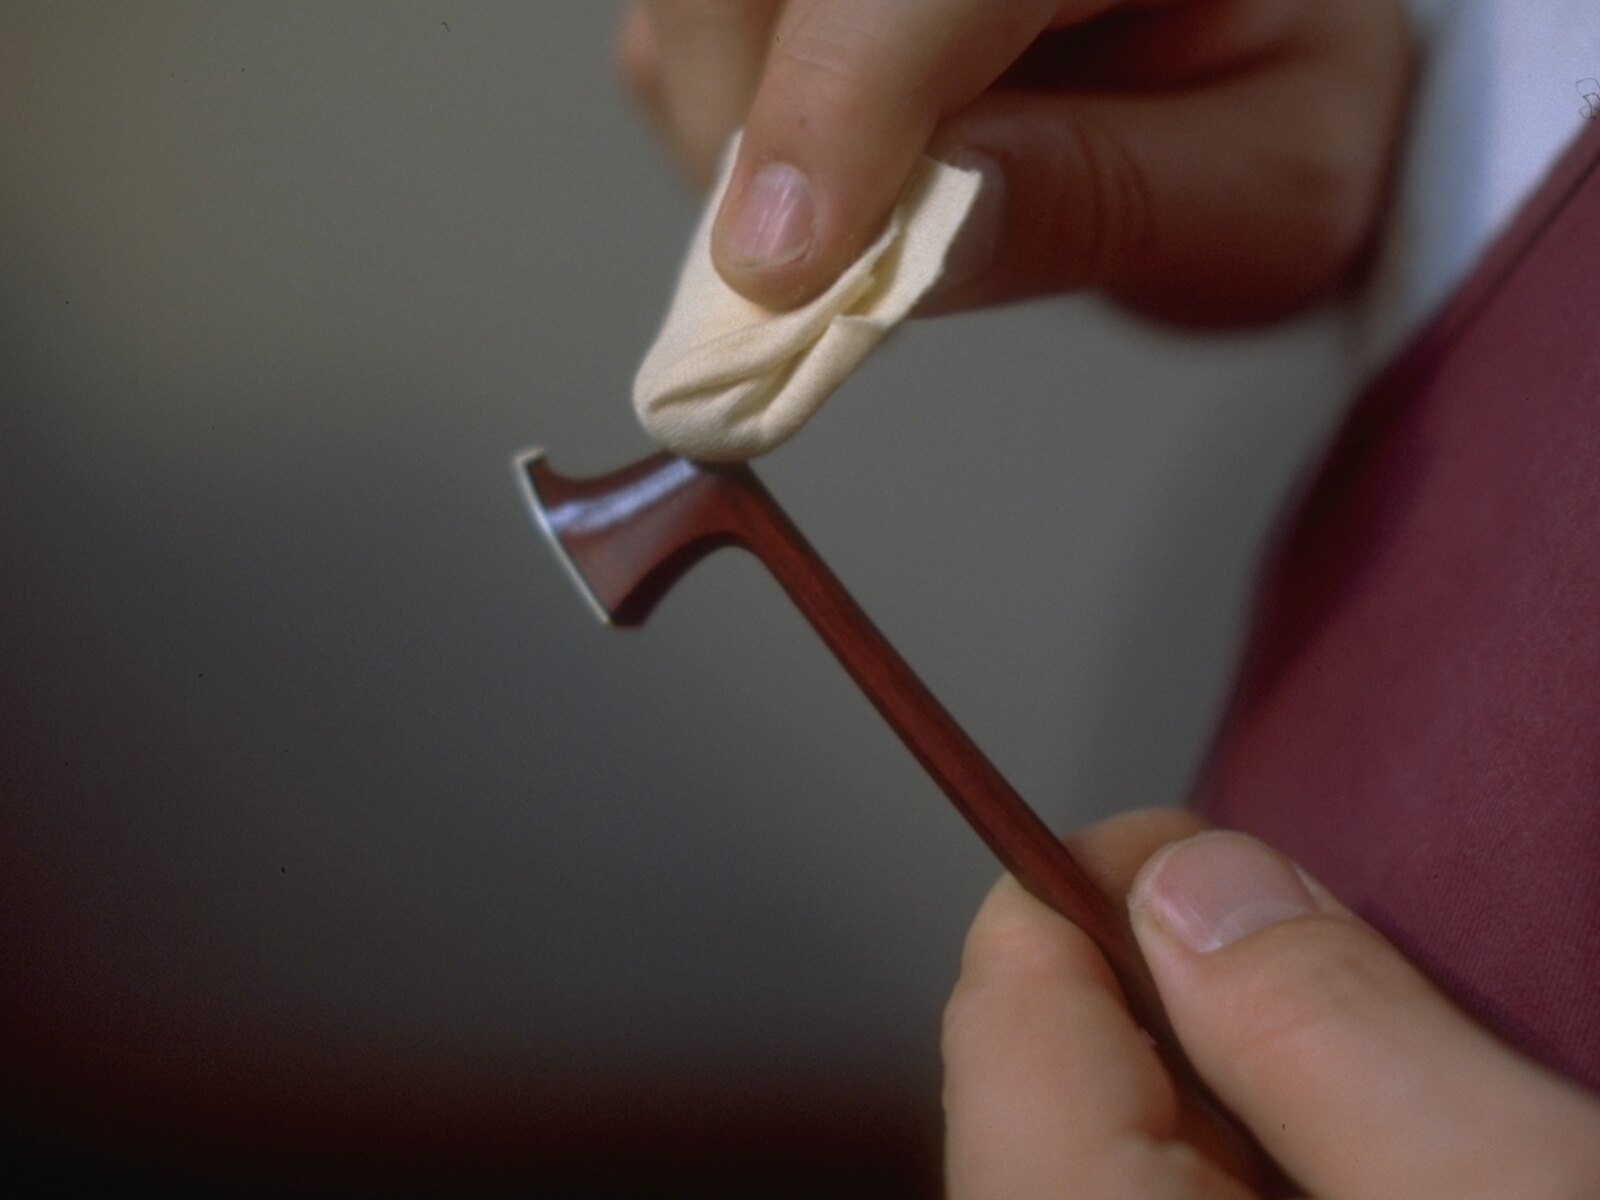
Only now is the head’s shape finalized. Templates, carving knives, and files establish clear lines, balanced proportions, and even curves. The surfaces are worked with progressively finer abrasives. The chamfer at the back of the head is cut only after polishing so that it remains sharp and precise.
To develop its color, the stick is darkened under ultraviolet light or sunlight and also exposed to ammonia fumes. The wood’s natural pigment is activated, turning its initial orange into a warm brown. The frog now receives its final sculptural form as well. Eyes, throat, metal surfaces, and ebony are carefully shaped and polished by hand. Shellac seals the pores of the stick and protects its surface.
Hairing the Bow
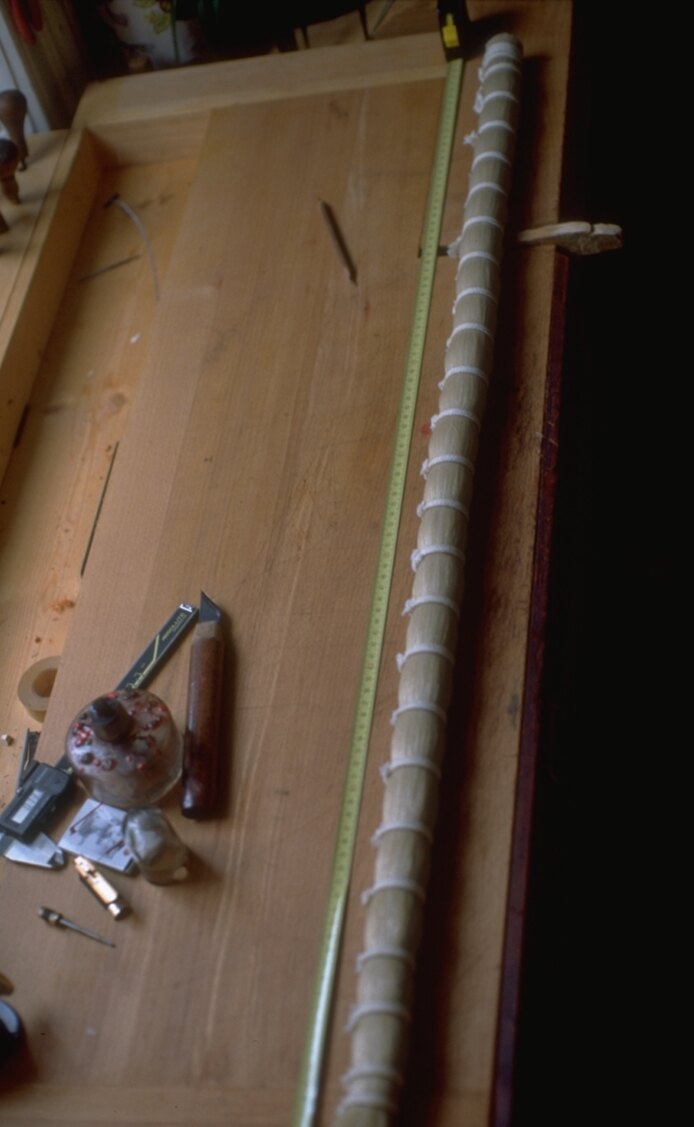
Bow hair provides direct contact between bow and string. Light-colored tail hair from Inner Mongolia or northern China is commonly used. Chemically bleached hair is unsuitable because it becomes brittle. Stallion tail hair is preferred.
As a natural material, horsehair responds strongly to moisture: it lengthens in high humidity and contracts in dry conditions. Choosing the correct hair length therefore requires experience and must account for the season and indoor climate.
Rosin allows the hair to grip the string. In the so-called stick-slip effect, the hair initially grips and pulls the string. Friction warms the rosin, which briefly loses its grip, allowing the string to spring back. As the rosin cools, the cycle begins again.
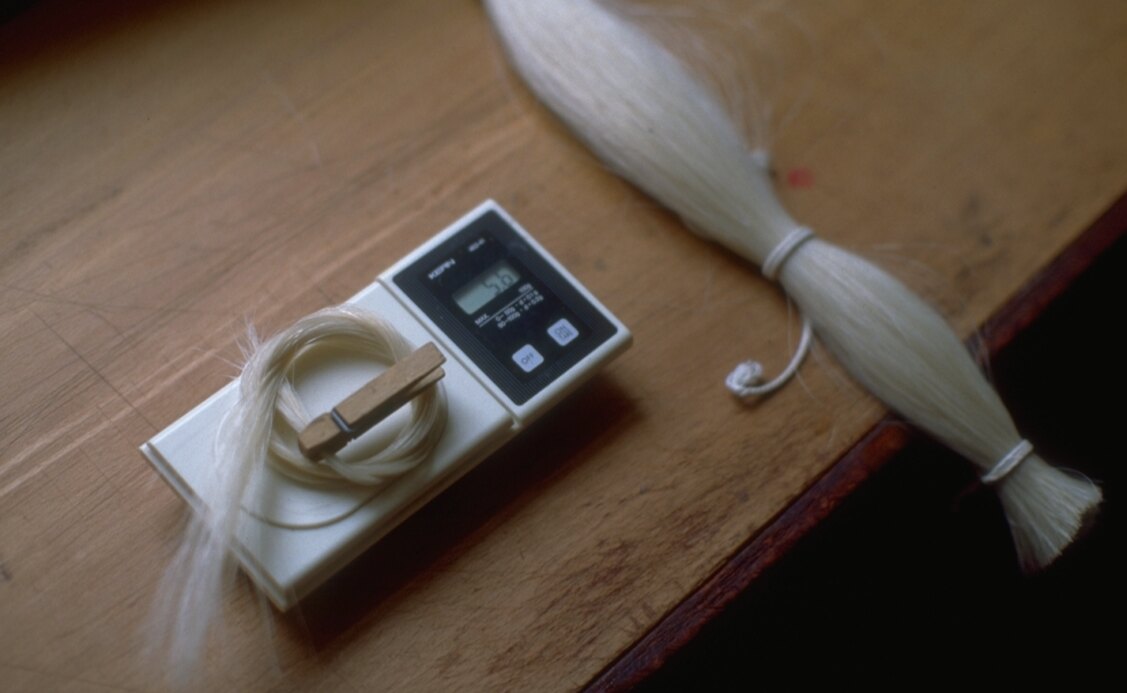
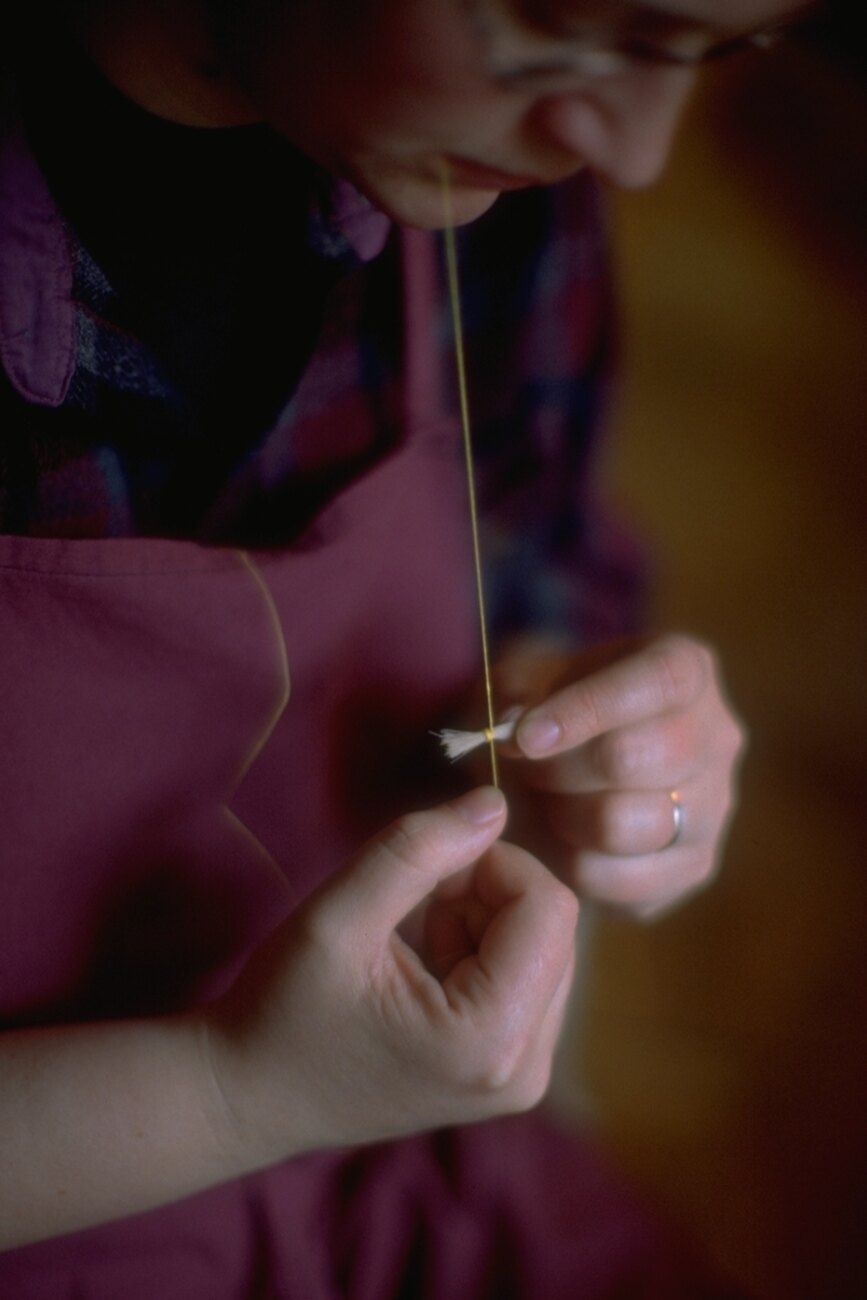
In the workshop, the best sections of hair are selected from long raw bundles. The required amount is weighed, wrapped with strong thread, knotted, and secured against slipping. The prepared end is inserted into the frog mortise and held by an accurately fitted plug. Replacing the slide and ferrule completes the first stage of hairing.
The Final Steps
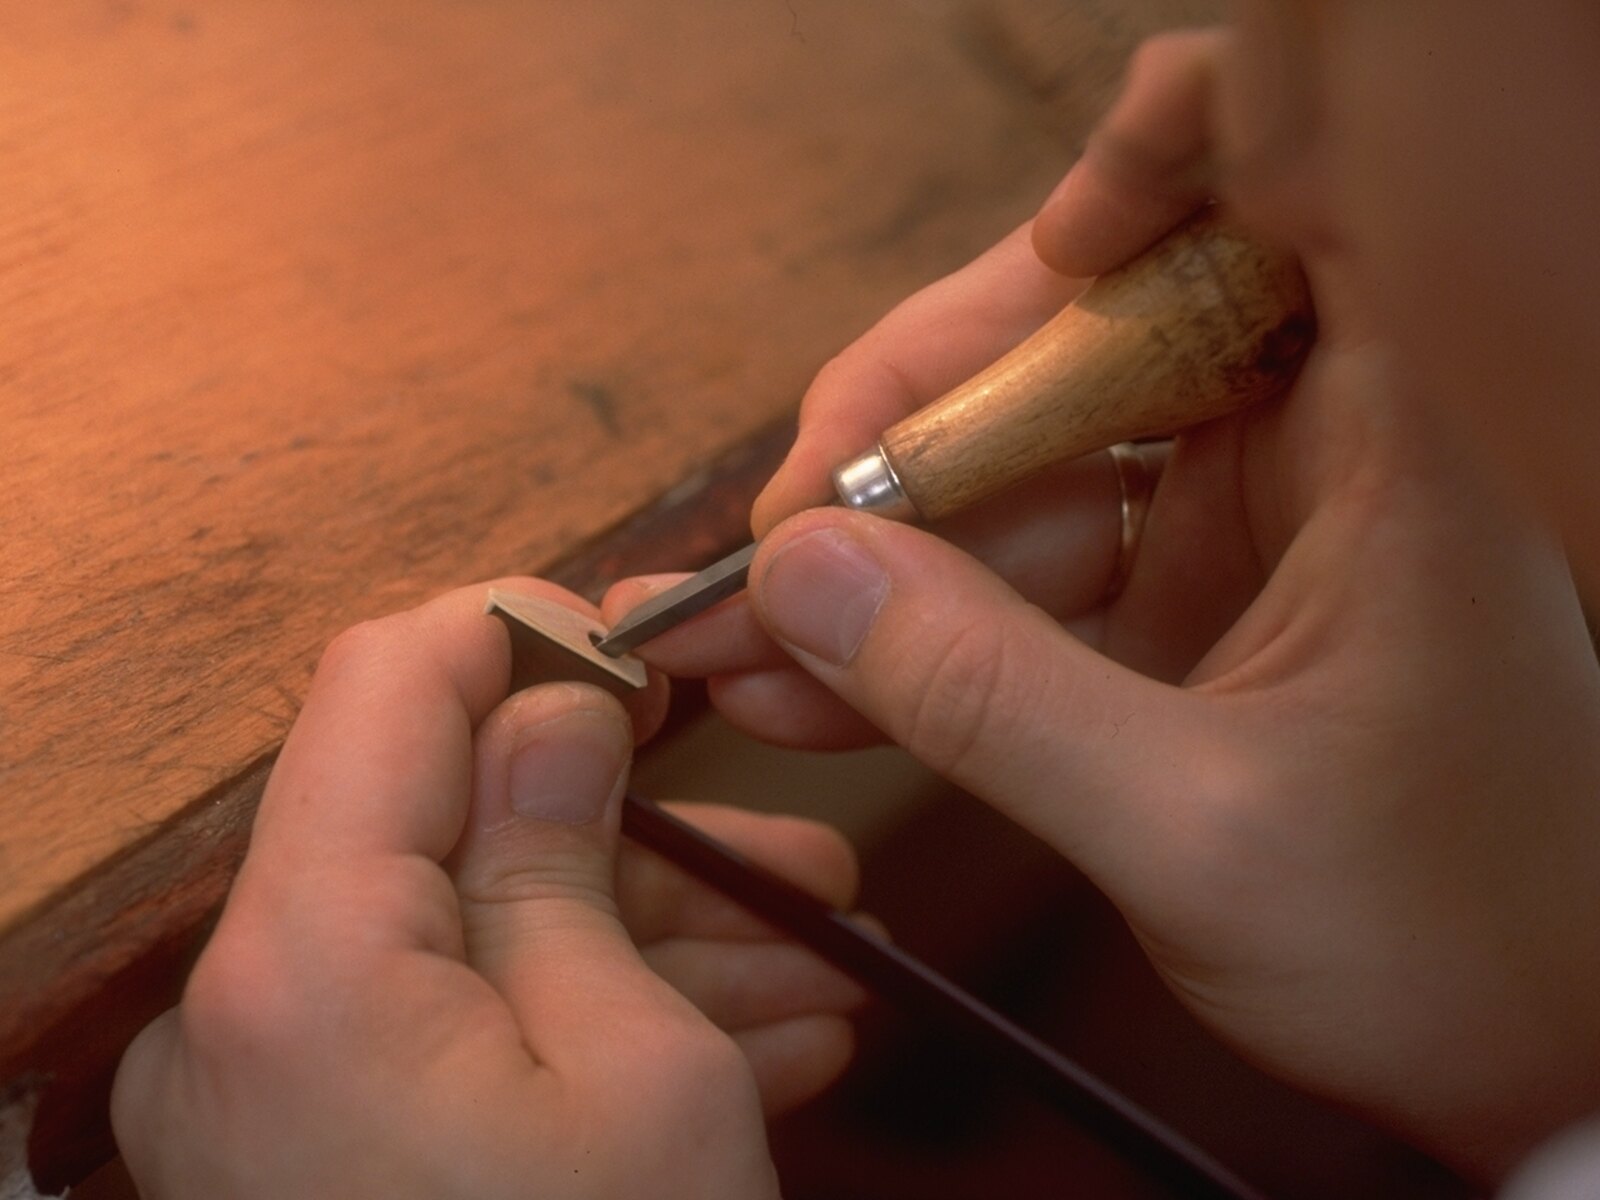
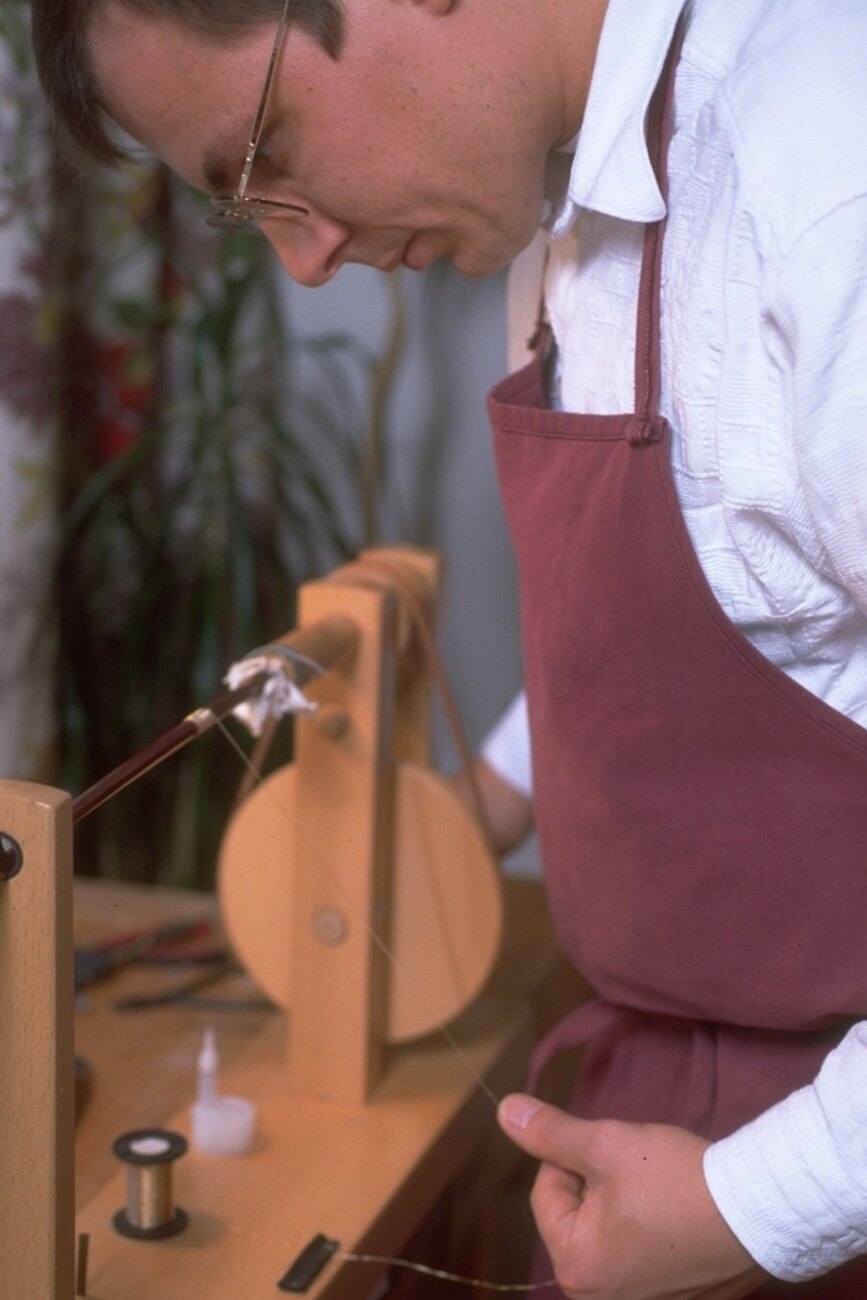
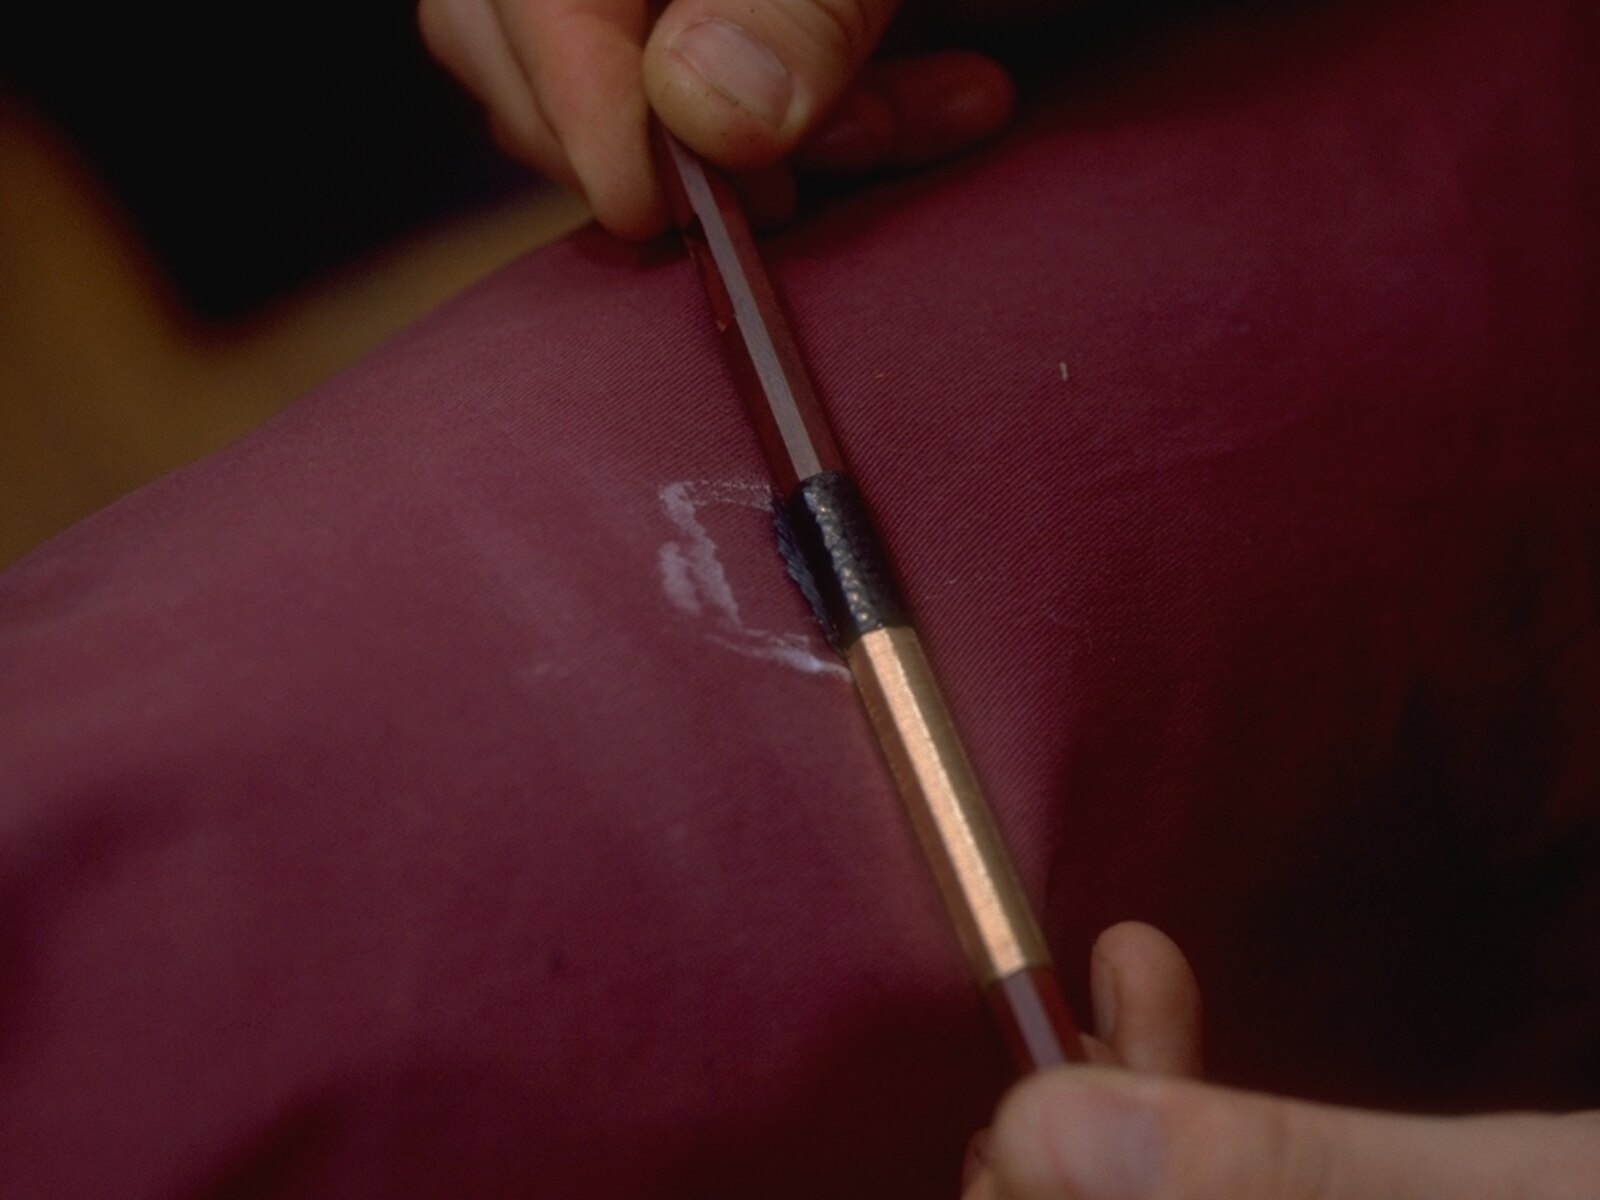
The mortise for the hair is now cut into the head. After work with fine chisels, the tip plate is sanded and polished. The bow is then balanced. Its current balance point is used to determine the weight and material of the winding and thumb leather.
The winding protects the stick from perspiration and allows precise adjustment of the balance point. It is usually made from wire of the same metal as the other fittings. The thumb leather protects the grip area; its edges are skived so that, once glued, it lies against the stick without a perceptible ridge.
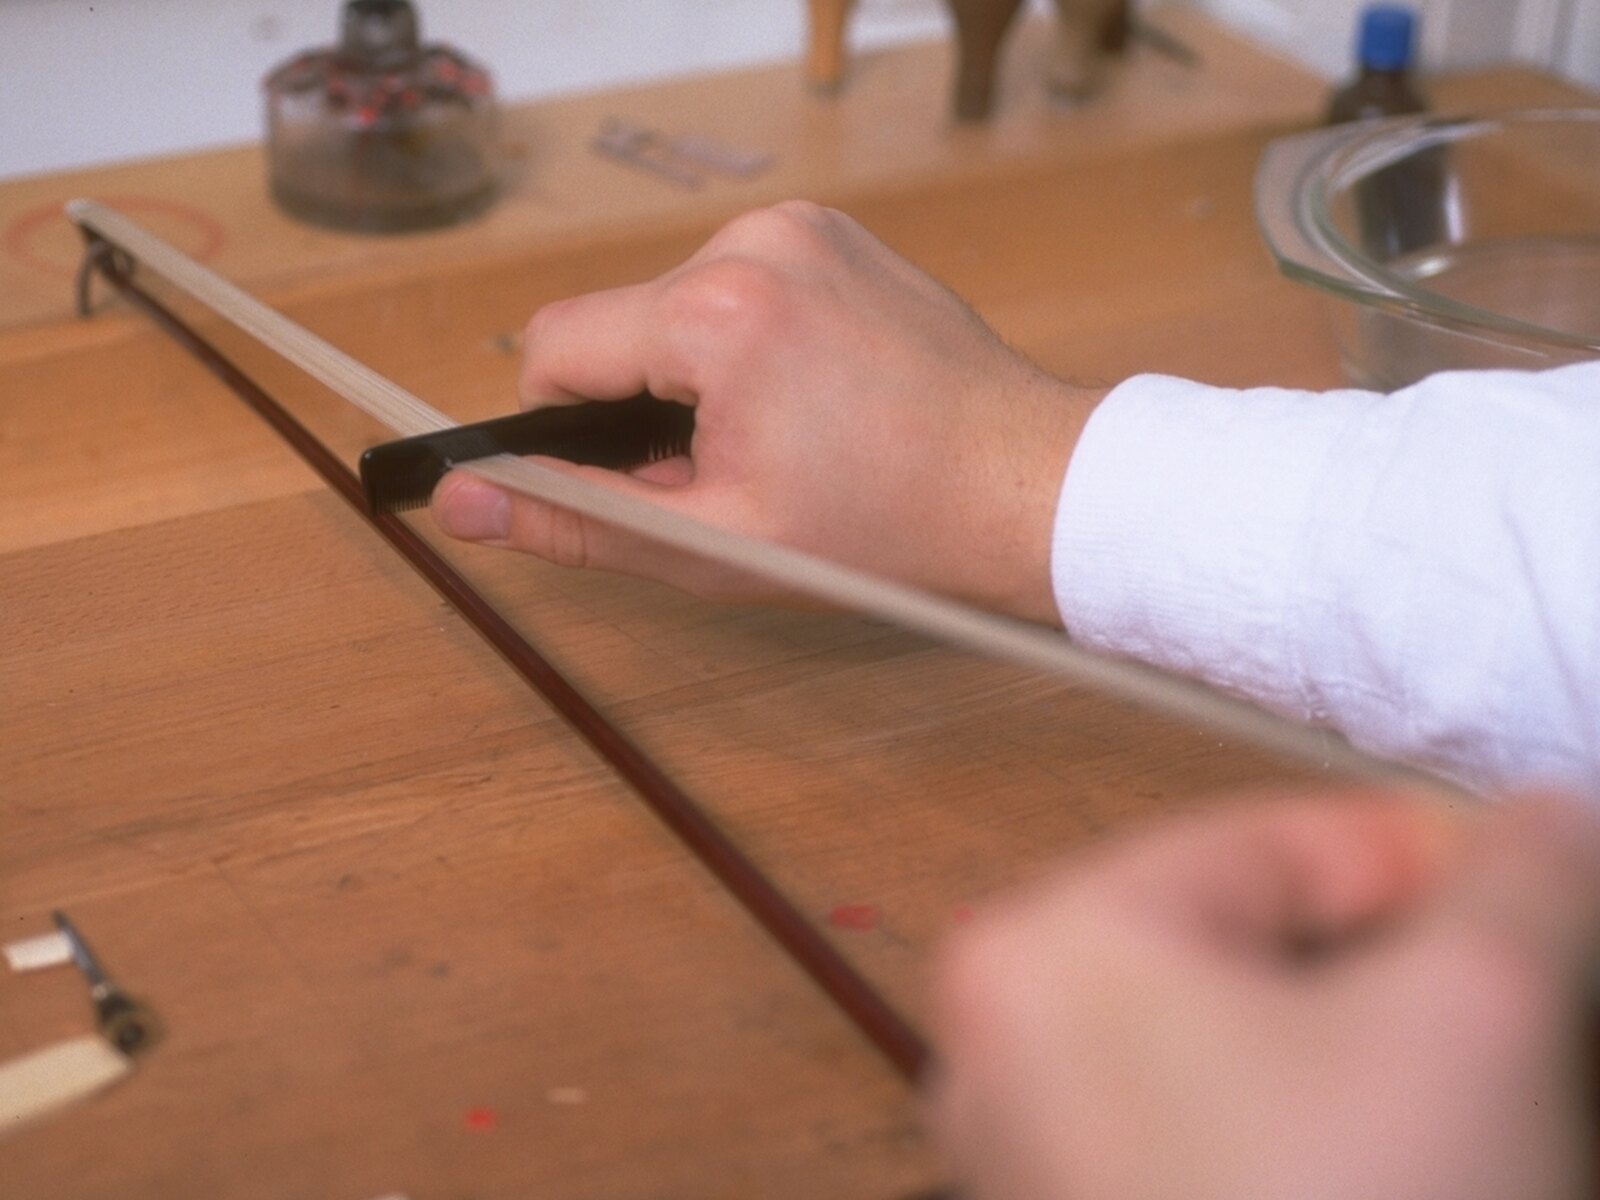
Only then is the hairing completed. The hair is washed, combed, cut to length, tied again, and sealed. Before the hair is fitted into the head, the frog is removed, the bundle is pulled taut, and the head plug is brought to exactly the right height.
After a short drying period, a spreader wedge of soft linden wood is fitted. It prevents the hairs from crossing and creates an even ribbon of hair. The wedge is inserted carefully, and the excess is removed without damaging the hair.
Signature and Documentation of Origin
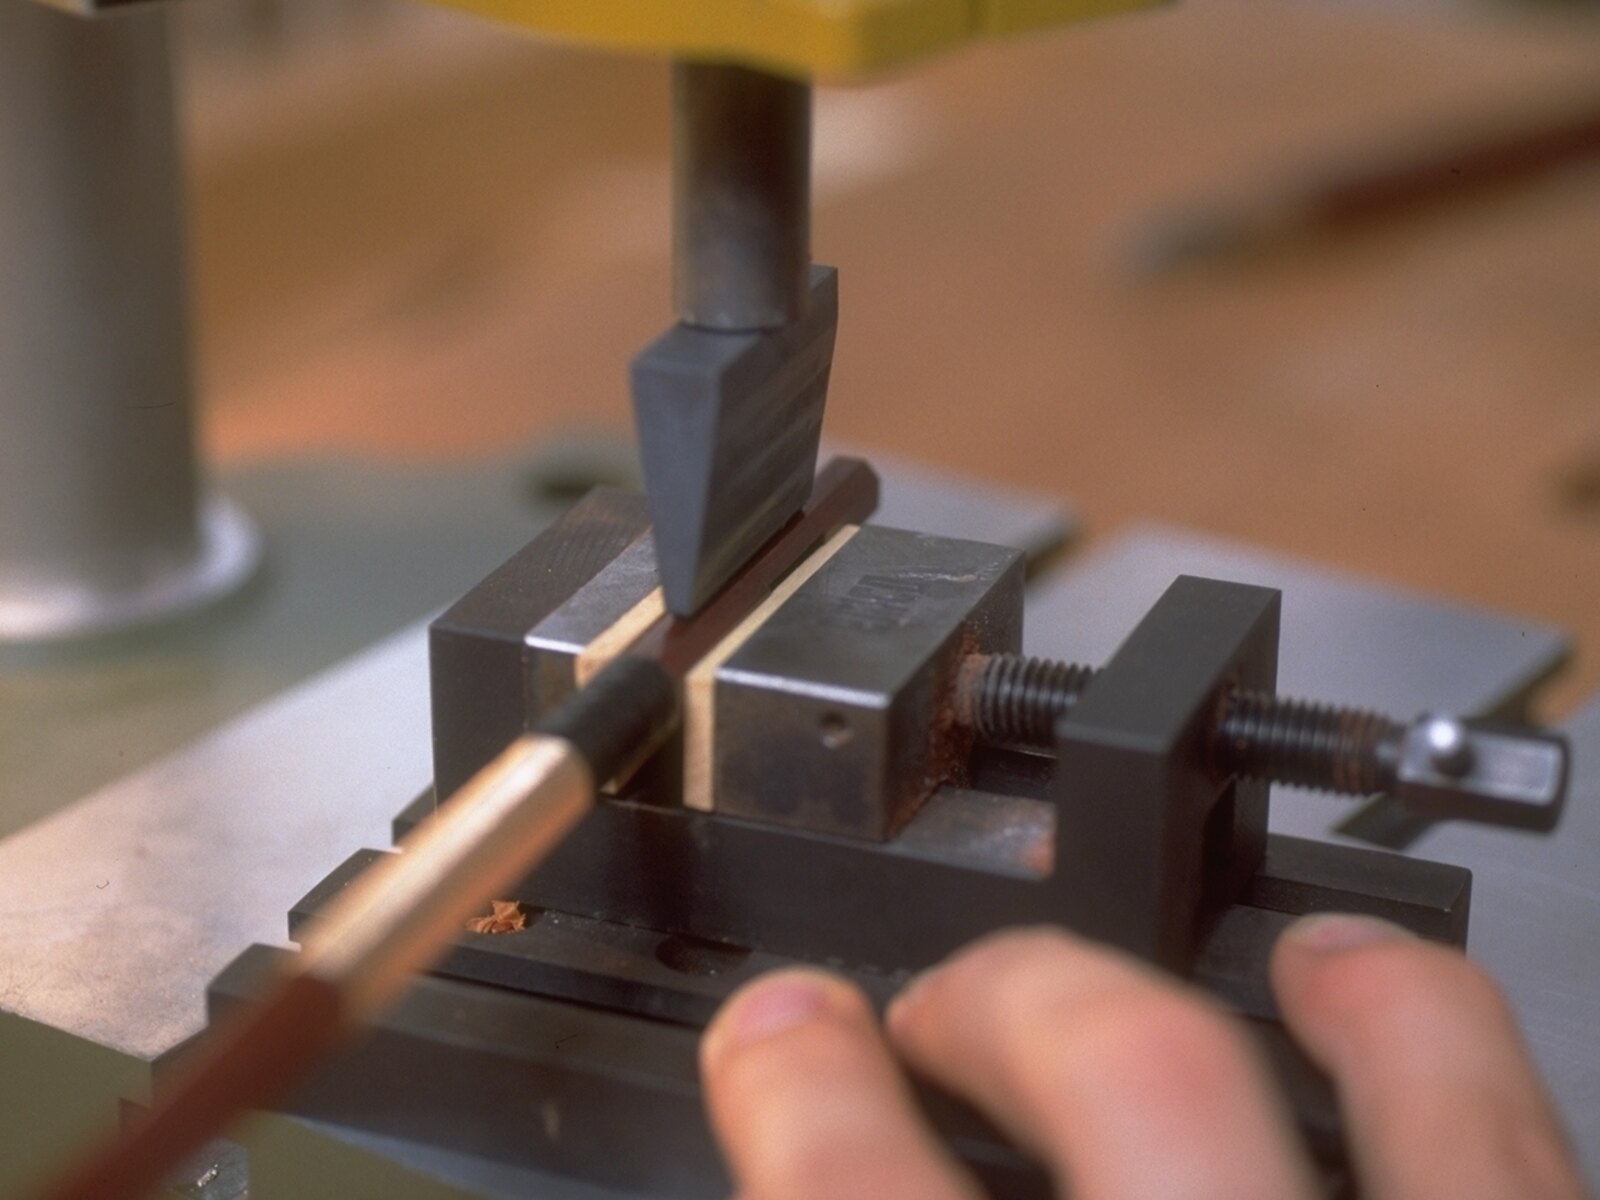
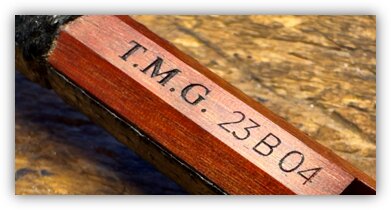
Marking the bow is the final step. Traditionally, a heated name stamp is branded into the end of the stick. The name represents the maker’s origin and mastery—although historically a name stamp alone was by no means always reliable evidence of origin.
Since 2023, some workshops have supplemented the signature with a unique serial number and accompanying documentation recording technical specifications, materials, and production dates. The serial number connects the finished bow to this record, strengthening authenticity and traceability.
Craftsmanship as a Repository of Knowledge
Making a bow stick is a highly complex process that combines experience, precision, and technical control. Material selection, seasoning, measurement, planing, cambering, shaping, and hairing produce a tool whose properties directly shape the playing experience and sound.
Many of these steps depend not only on rules that can be written down, but on a feel for the material and years of observation. Passing on this knowledge is therefore as much a responsibility of the craft as the careful use of the raw material itself.